
 I don’t know how I became the bacon advocate. It just happened. I’m not even that crazy for bacon. I’m more in the chocolate camp, really. And what’s more, I especially don’t like smoked things. To me, smokiness tastes like burned dirt, but in this lingering, cloying, way. There: my secret is out. I feel so free now. Smoky flavors and black licorice: my culinary kryptonites.
And yet I became a bacon person. I signed up to make bacon for my Master Food Preserver class way back when and made a metric ton of it to prepare . . . and I loved it because I didn’t smoke it. I slow roasted it. I cured it with salt, obviously, but added in herbs and spices and other flavors, like juniper berries and thyme and rosemary and maple syrup. It was so fun to try all these other flavors with the meat. And then once or twice I kicked it up a notch and roasted some sliced bacon a second time in brown sugar and chili, and made pig candy, which gave me a bit of a reputation, but that’s a story for another time.
Now some people would say that what I make isn’t bacon, because in the U.S. bacon is pork belly that is cured and then smoked. Smoked is part of the definition. Maybe the name for my bacon is “green” bacon or “fresh” bacon. Whatever you call it – the stuff is tasty. And what I love about it is how useful it is. It is the all-around awesome meat condiment. I almost never use it in slices for breakfast, although it is good that way and especially impressive for company. Mostly, I cut it up into little pieces called lardons and stash them in a bag in my freezer. Then, I use the lardons as an ingredient, a seasoning really, in dishes like baked beans, soups, and pasta sauces. I also fry up the little pieces and toss them in salads – or use them in fritattas or other egg dishes. I understand the lardons are also tasty in ice cream or dipped in chocolate – but that’s not my thing.
Bacon is easy to make at home, easy-peasy-lemon-squeezy is the exact term, actually. In a nutshell, all you need is a pork belly and salt. And then you need sugar to balance the salt. And then you can add many other seasonings, taking it in a savory direction or a sweet direction.
Let’s Talk PInk Salt
And maybe you need pink salt – aka sodium nitrite. There is so much discussion about whether bacon should have sodium nitrite in it. I see all the time that meat products are sold as “nitrite free,” so nitrites must be bad stuff, right? When I looked into this, way back when, I had three basic questions: (1) what is nitrite? (2) is it safe? and (3) why should I use it? Maybe you have those same questions. Let’s discuss . . .
What are nitrites? Sodium nitrite is a naturally occurring chemical that is present in high concentrations in many vegetables, such as spinach and celery. We have nitrites in our bodies all the time. Nitrites work as an anti-bacterial agent in our bodies, especially in an acidic environment, like the stomach. Commercially it goes by different names, such as pink salt, Instacure #1 and Prague Powder #1. These are not “pure” nitrite – these commercial mixes are by regulation 93.75% sodium and 6.25% nitrite.
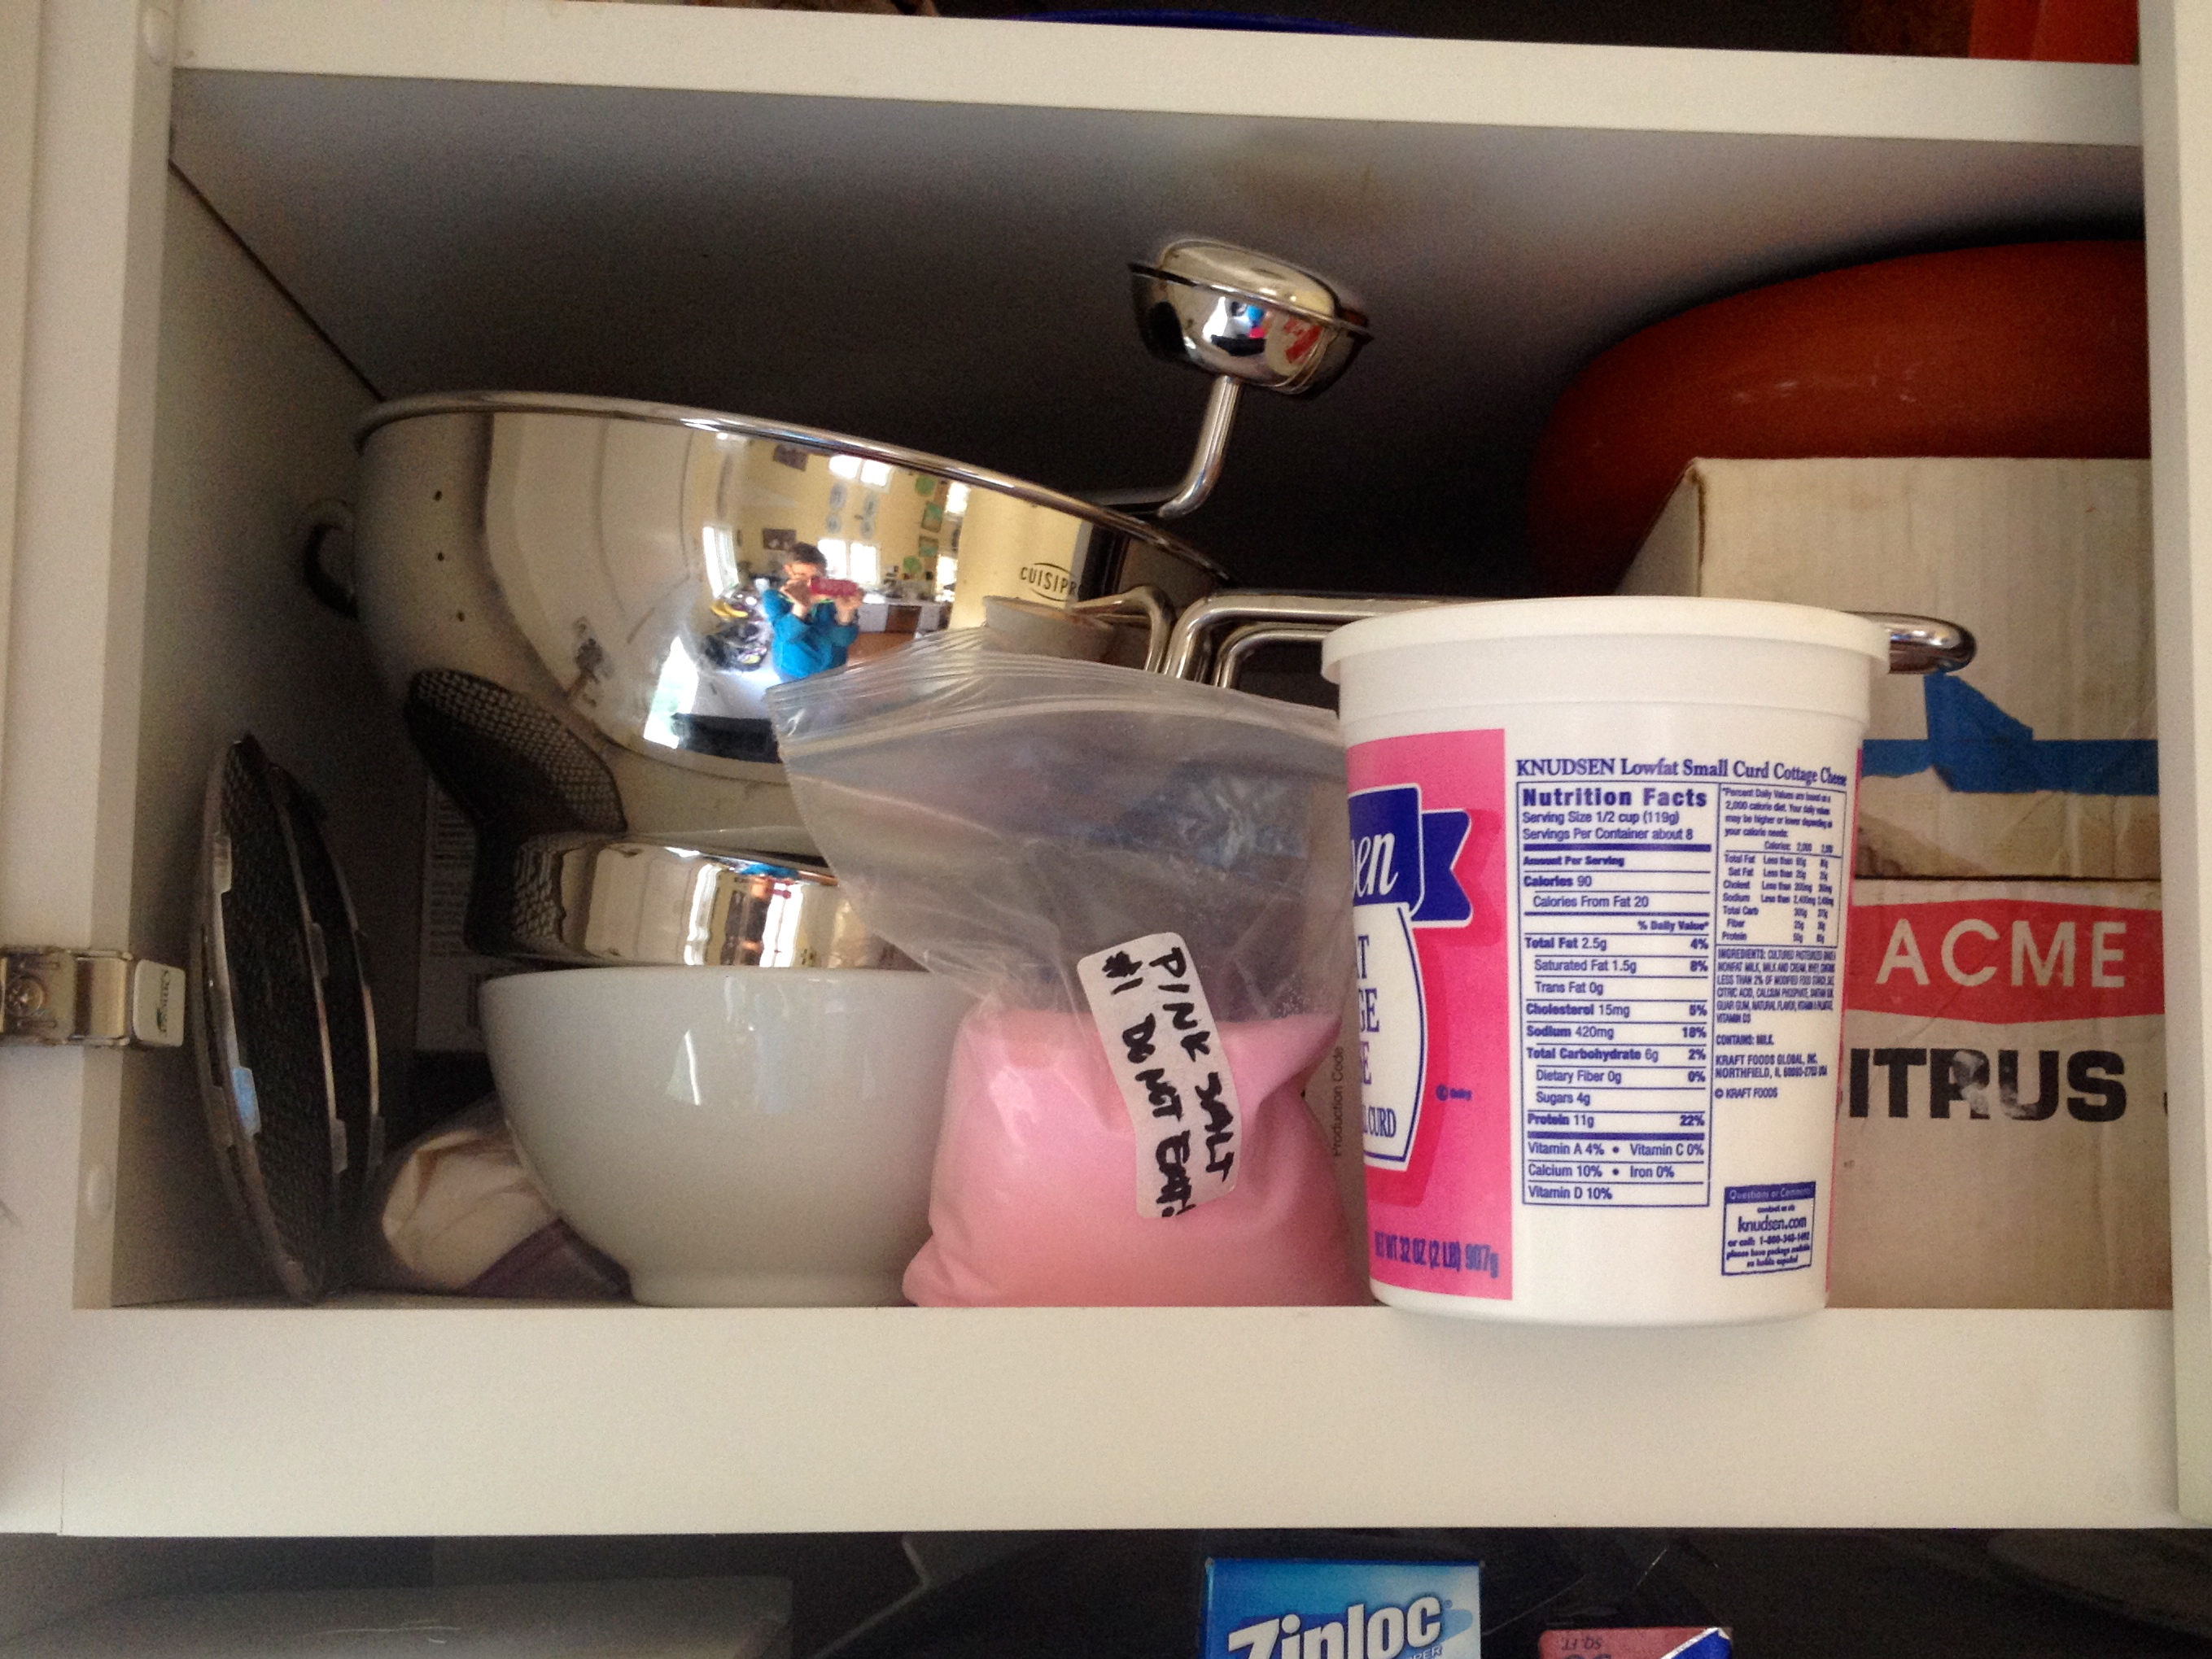
Are nitrites safe? Yes-ish. Large quantities are toxic. If one eats it by the teaspoonful, it can be deadly. The amounts added to (or already in) food in reputable recipes are not toxic. If stored responsibly and used responsibly, it seems less dangerous than alcohol, frankly. It is dyed a pink color so a cook cannot confuse it with table salt. Store it (just like alcohol) where kids won’t get into it accidentally, use it in responsible recipes and it’s fine. Here’s a photo of my pink salt and Basic Cure Mixture above my fridge – hanging out with my food mill.
 Why should I use nitrites? Sodium nitrite prevents the growth of the organism that causes botulism. It also adds to and protects the bacon-y flavor of the bacon, keeps it preserved longer and adds a traditional rosy color to the meat.
In my bacon-making, I have made batches with and without pink salt. The big difference for me was when I didn’t use the pink salt, the bacon tasted more like pork roast than bacon. Not necessarily a bad thing (at all), just different.
My final take on pink salt is like my take on most of this DIY stuff: do some research, try things out and make your best, educated decision. Just like life! Here are a few links to start your research: a USDA approved recipe for homemade bacon, the National Center for Home Food Preservation on curing and smoking, the National Center for Home Food Preservation on nitrates and nitrites, Michael Ruhlman’s well-reasoned opinion on the issue, as well as his take on the “no nitrates added” phenomenon.
Let’s Talk About Your Belly
I’m not going to judge you for where you buy your pork belly. But I encourage you to look around at all your options and make an informed decision before you buy. Please understand that if you are paying $3.50lb. for a pork belly, you are probably buying factory-farmed meat. If you don’t know what’s involved in producing factory-farmed meat, maybe do a little research and learn what’s involved in that so you can learn how your meat comes to be. Take a look at my smart sister’s post on the subject here. I have purchased factory-farmed meat. I have also purchased meat from pigs who were known by name to the butcher – at a dramatic difference in price. I’d rather support farmers who do their best by the animal. But it can be hard to find these farmers and hard to afford the meat. Regardless of where the meat comes from, by using all of the animal in the most efficient way, like using a mere 6 oz. of bacon in a soup that deliciously feeds a family of four, one is treating the meat with due respect.
Maybe use your bacon adventure to get to know a butcher or two around town. Buying pork belly often means special-ordering it from the butcher, in a grocery or not, since shoppers don’t purchase it often enough for the butcher to keep it in stock in their case – especially in 5 lb. slabs. I’ve learned a lot from hanging with butchers – it has made me a more informed consumer and I think that’s pretty good.
Also, if possible, look for farmers at farmers’ markets who sell pastured pork belly. Sometimes the farmers don’t want to sell their pork belly, because they make more money if they cure it themselves and sell it as bacon. But that’s not always the case. Have a chat with them and see. Another thing you might find with the pastured bacon, is that sometimes there just aren’t enough bellies to go around. There are only so many pastured pigs out there and they each only have one belly. Maybe increased demand will encourage more farmers to raise their pigs responsibly. I think that’s pretty good, too.
Before you get Started: the Required Supplies
(Don’t blame me if your bacon doesn’t turn out tasty and you don’t use these things.)
a digital kitchen scale (I use this totally cheapo one and it does the job just fine)
a 2 gallon ziplock bag
an instant read meat thermometer
pink salt (if you decide to use it – Instacure #1 or similar – you can get it on-line)
an oven thermometer.
 Finally: Makin Bacon
This recipe is based on the recipe in Charcuterie, by Michael Ruhlman. I highly recommend this book – it has a ton of information and makes great bedside reading.
The Bacon Ingredients
1 3-5 pound piece of pork belly (have the butcher trim it for you so the edges are square)
2.5 ounces of Basic Curing Mix (see recipe below) use ½ ounce of Basic Curing Mix per pound of meat.
Any extra flavorings you want (see the discussion above): maple syrup, crushed black pepper or coffee beans or juniper berries, dried thyme, crushed garlic, dried rosemary, nutmeg . . .
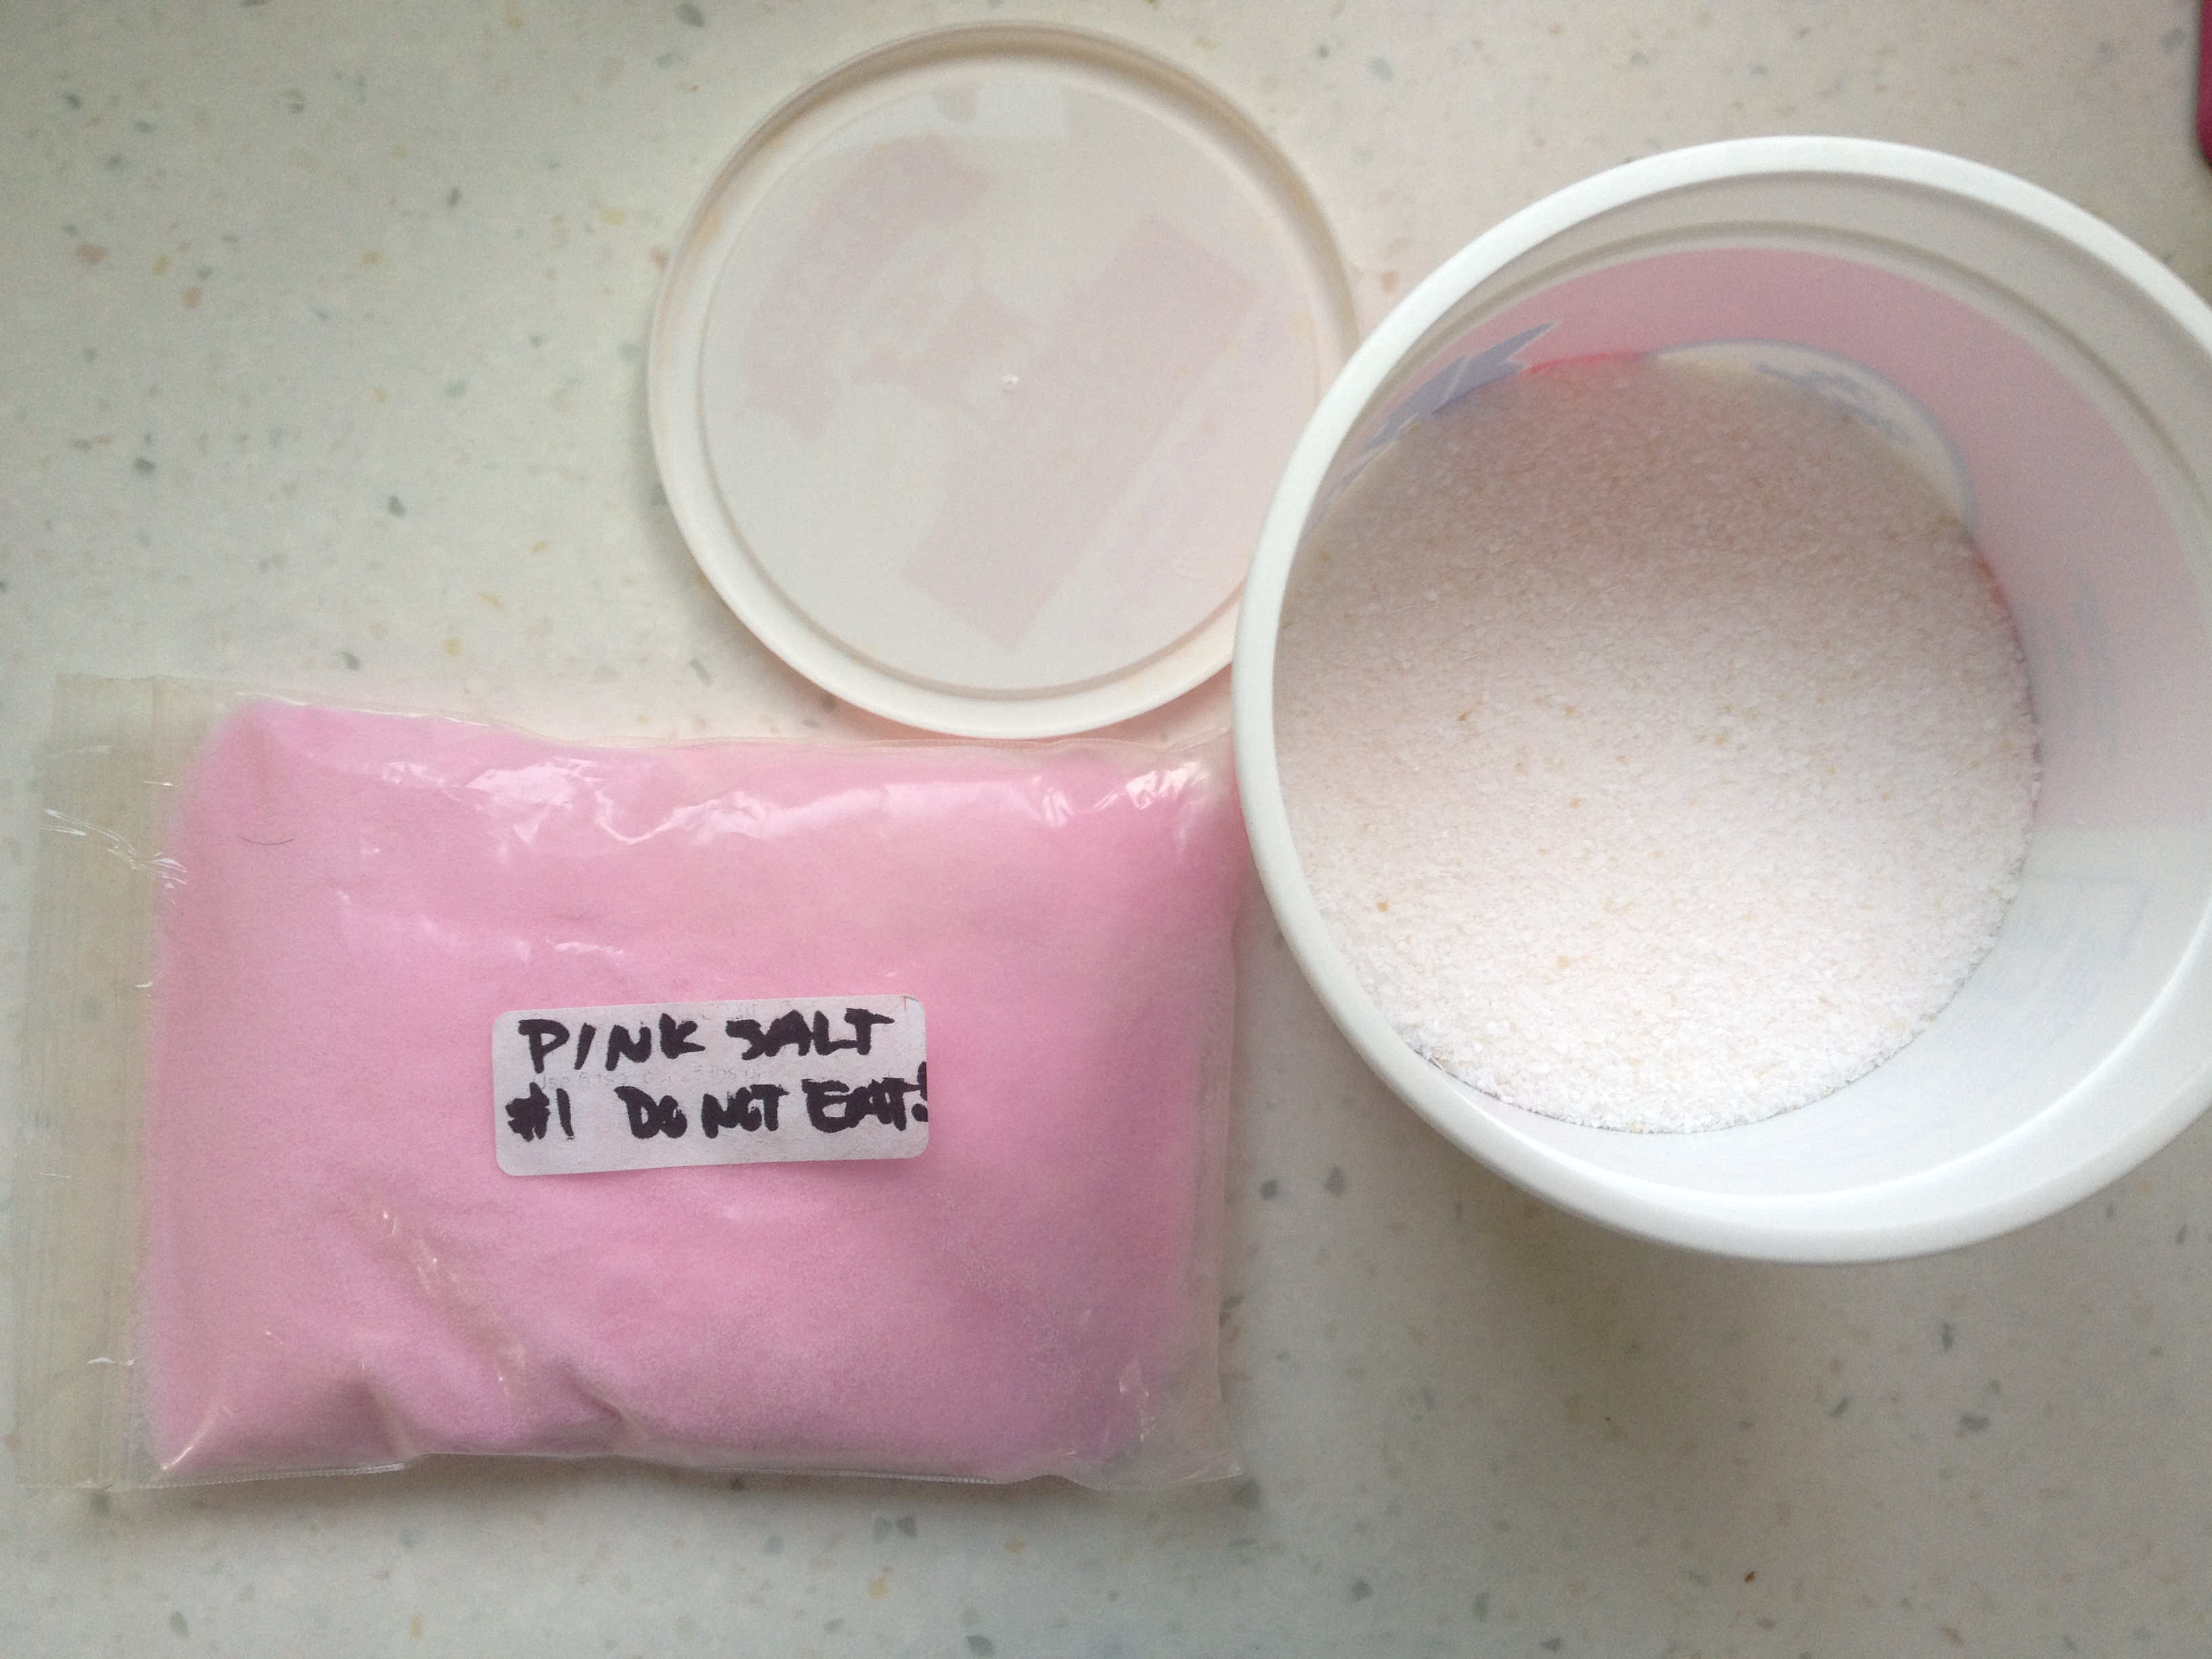
Basic Curing Mix
This makes a big batch. Mix it up and store it in a jar (or recycled cottage cheese container as shown in the above photo). That way you are ready for many bacon projects to come. This mixture lasts indefinitely.
1 pound Diamond kosher salt (or pickling salt – or some other salt that does not have added ingredients)
8 oz. sugar (white or brown)
2 oz. pink salt (optional, but I use it)
The Steps to Bacon
1. Mix the Basic Curing Mix and your optional flavorings together to make your curing mixture.
2. Spread the curing mixture onto a dry baking sheet with a lip or another container large enough for the belly to lie flat.
3. Press all the sides of the belly into the cure. Feel free to use your (freshly washed) hands to pick up some of the curing mixture and press it in there with your hands. Get into the cracks of the muscle. Make sure you have a uniform coating over the entire surface of the meat – even the sides.
4. Place the belly in your 2 gallon ziplock bag and pop it in the refrigerator.
5. Flip the meat over every other day. I write a little chart on my ziplock bag so I don’t forget (see photo below). As you flip, observe the meat. Don’t worry if you have water collecting in the bag, this is a normal result of curing. Does the meat feel firmer? Maybe it needs an extra sprinkle of Basic Curing Mix. This process is called “overhauling.” Doesn’t that sound macho?
 6. After 7 days, the meat should be cured, but if it’s a very thick piece, the curing time may be longer – maybe 2 more days. Think 7 days per inch of thickness, or 2 days per pound. BTW – Here’s where I got that specific info.
7. When the meat feels firm (like a cooked steak) at its thickest point – it’s done.
8. Rinse the bacon very thoroughly and pat it dry with paper towels.
9. Rest the bacon, covered, in the refrigerator for at least 3 hours and up to 2 days.
10. Roast the bacon: Preheat the oven to 200°. Place the meat on a rack on a baking sheet. If you have an oven thermometer – this is a good time to use it to make sure your oven isn’t too hot.
11. Roast until the meat reaches an internal temperature of 150°. It will take about 2 hours. Start checking the temperature after 1½ hours. The bacon should be looking and smelling pretty yummy about now.
12. If you didn’t remove the skin before, remove it now. It’s easier to remove it when the fat is still hot.
13. Allow the bacon to cool to room temperature. Once it’s cooled down, wrap it well and refrigerate.
14. When the bacon has chilled, you can slice it up into slices, cut it into lardons or cut it down into smaller chunks and keep in the refrigerator or freezer.
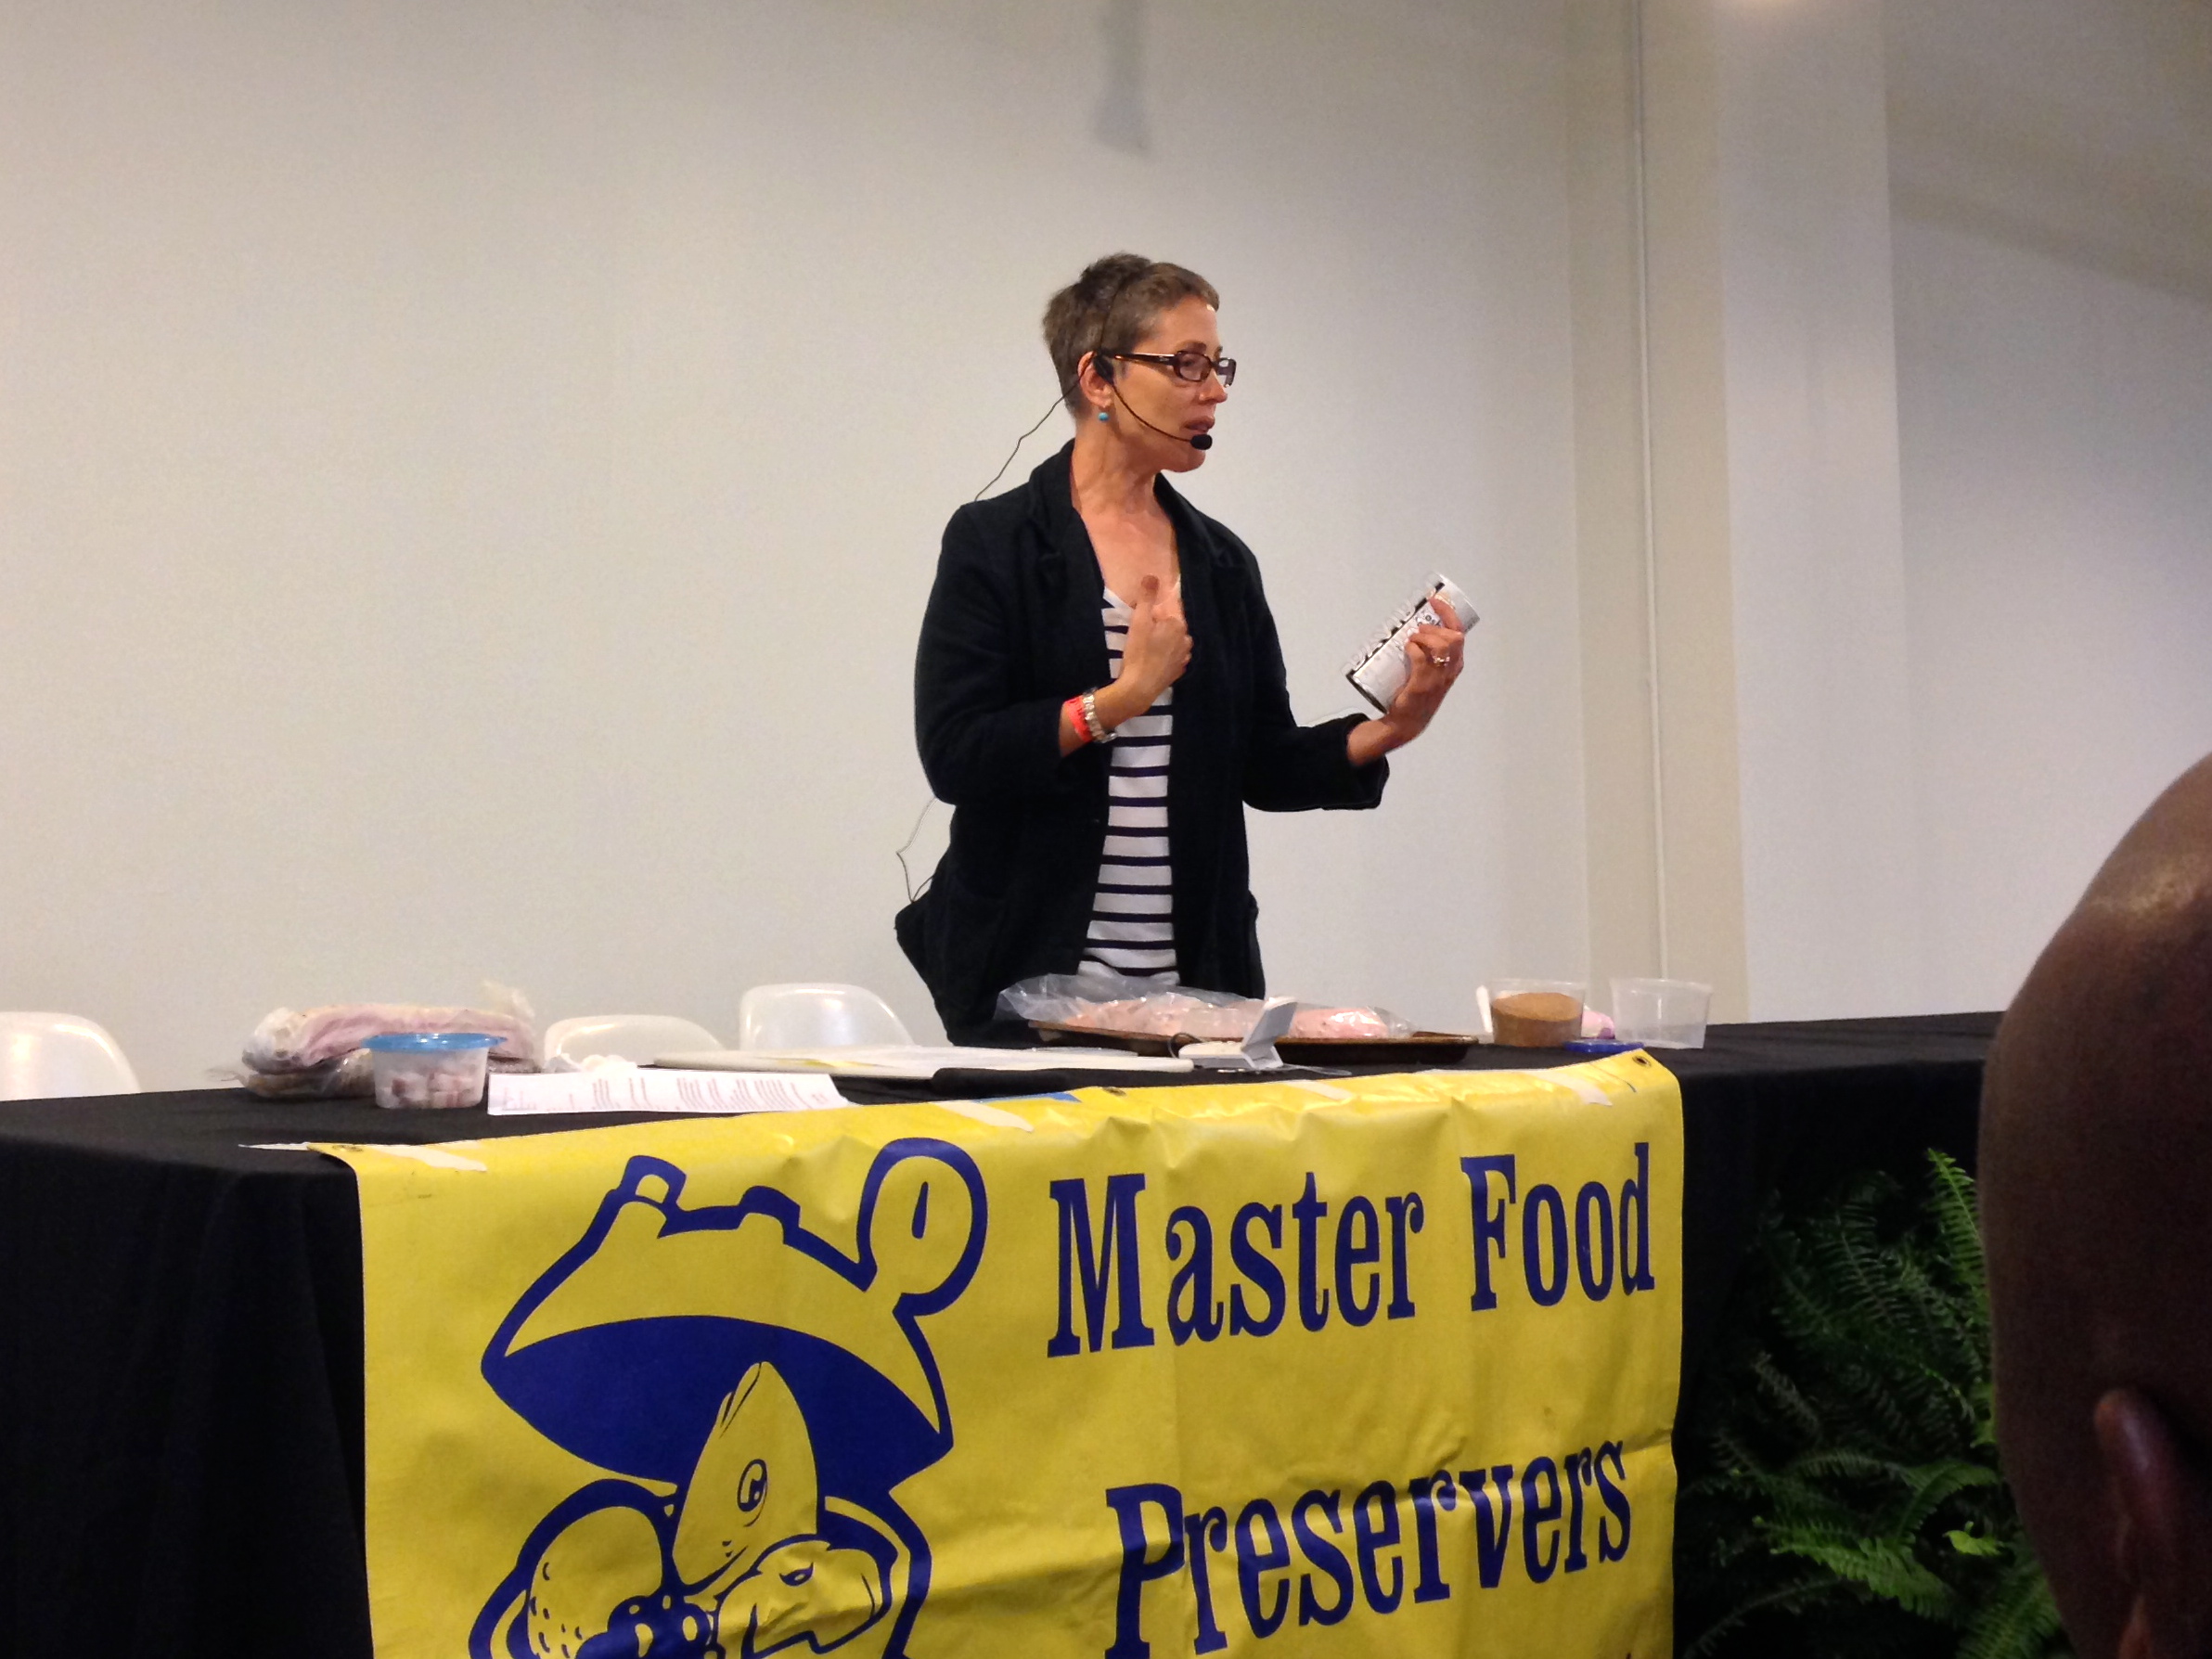
I was super happy to continue my bacon-advocacy by teaching a demo at Artisanal LA this weekend. This is a photo me teaching! It was very fun to meet folks and talk bacon and home food preservation. I hope you enjoy making bacon yourself and learning about the process.
Very cool!