Gray Morning

imageWhen I was an elementary school-aged kid, I had this occasional ritual where I would wrap myself up in a cozy sweater and hang around the house early in the morning before anyone got up. On warm spring mornings maybe I would stroll around outside, inspecting the yard: mock orange, lilac. Maybe one of our big, hairy dogs would join me. On mornings after my parents had guests for dinner, sometimes I would sip the coffee they had left in their fancy cups. Sometimes I would watch the WGN crop report – bundled up on our cozy couch – but mostly it was just my quiet time.

imageNow that I am occupying my adult self, I wish I could recall what was passing through my brain in those kid moments. But maybe I was not so different back then. Maybe then, just like now, I used those quiet mornings to look around my home and think to myself, “Isn’t this just great?”
image
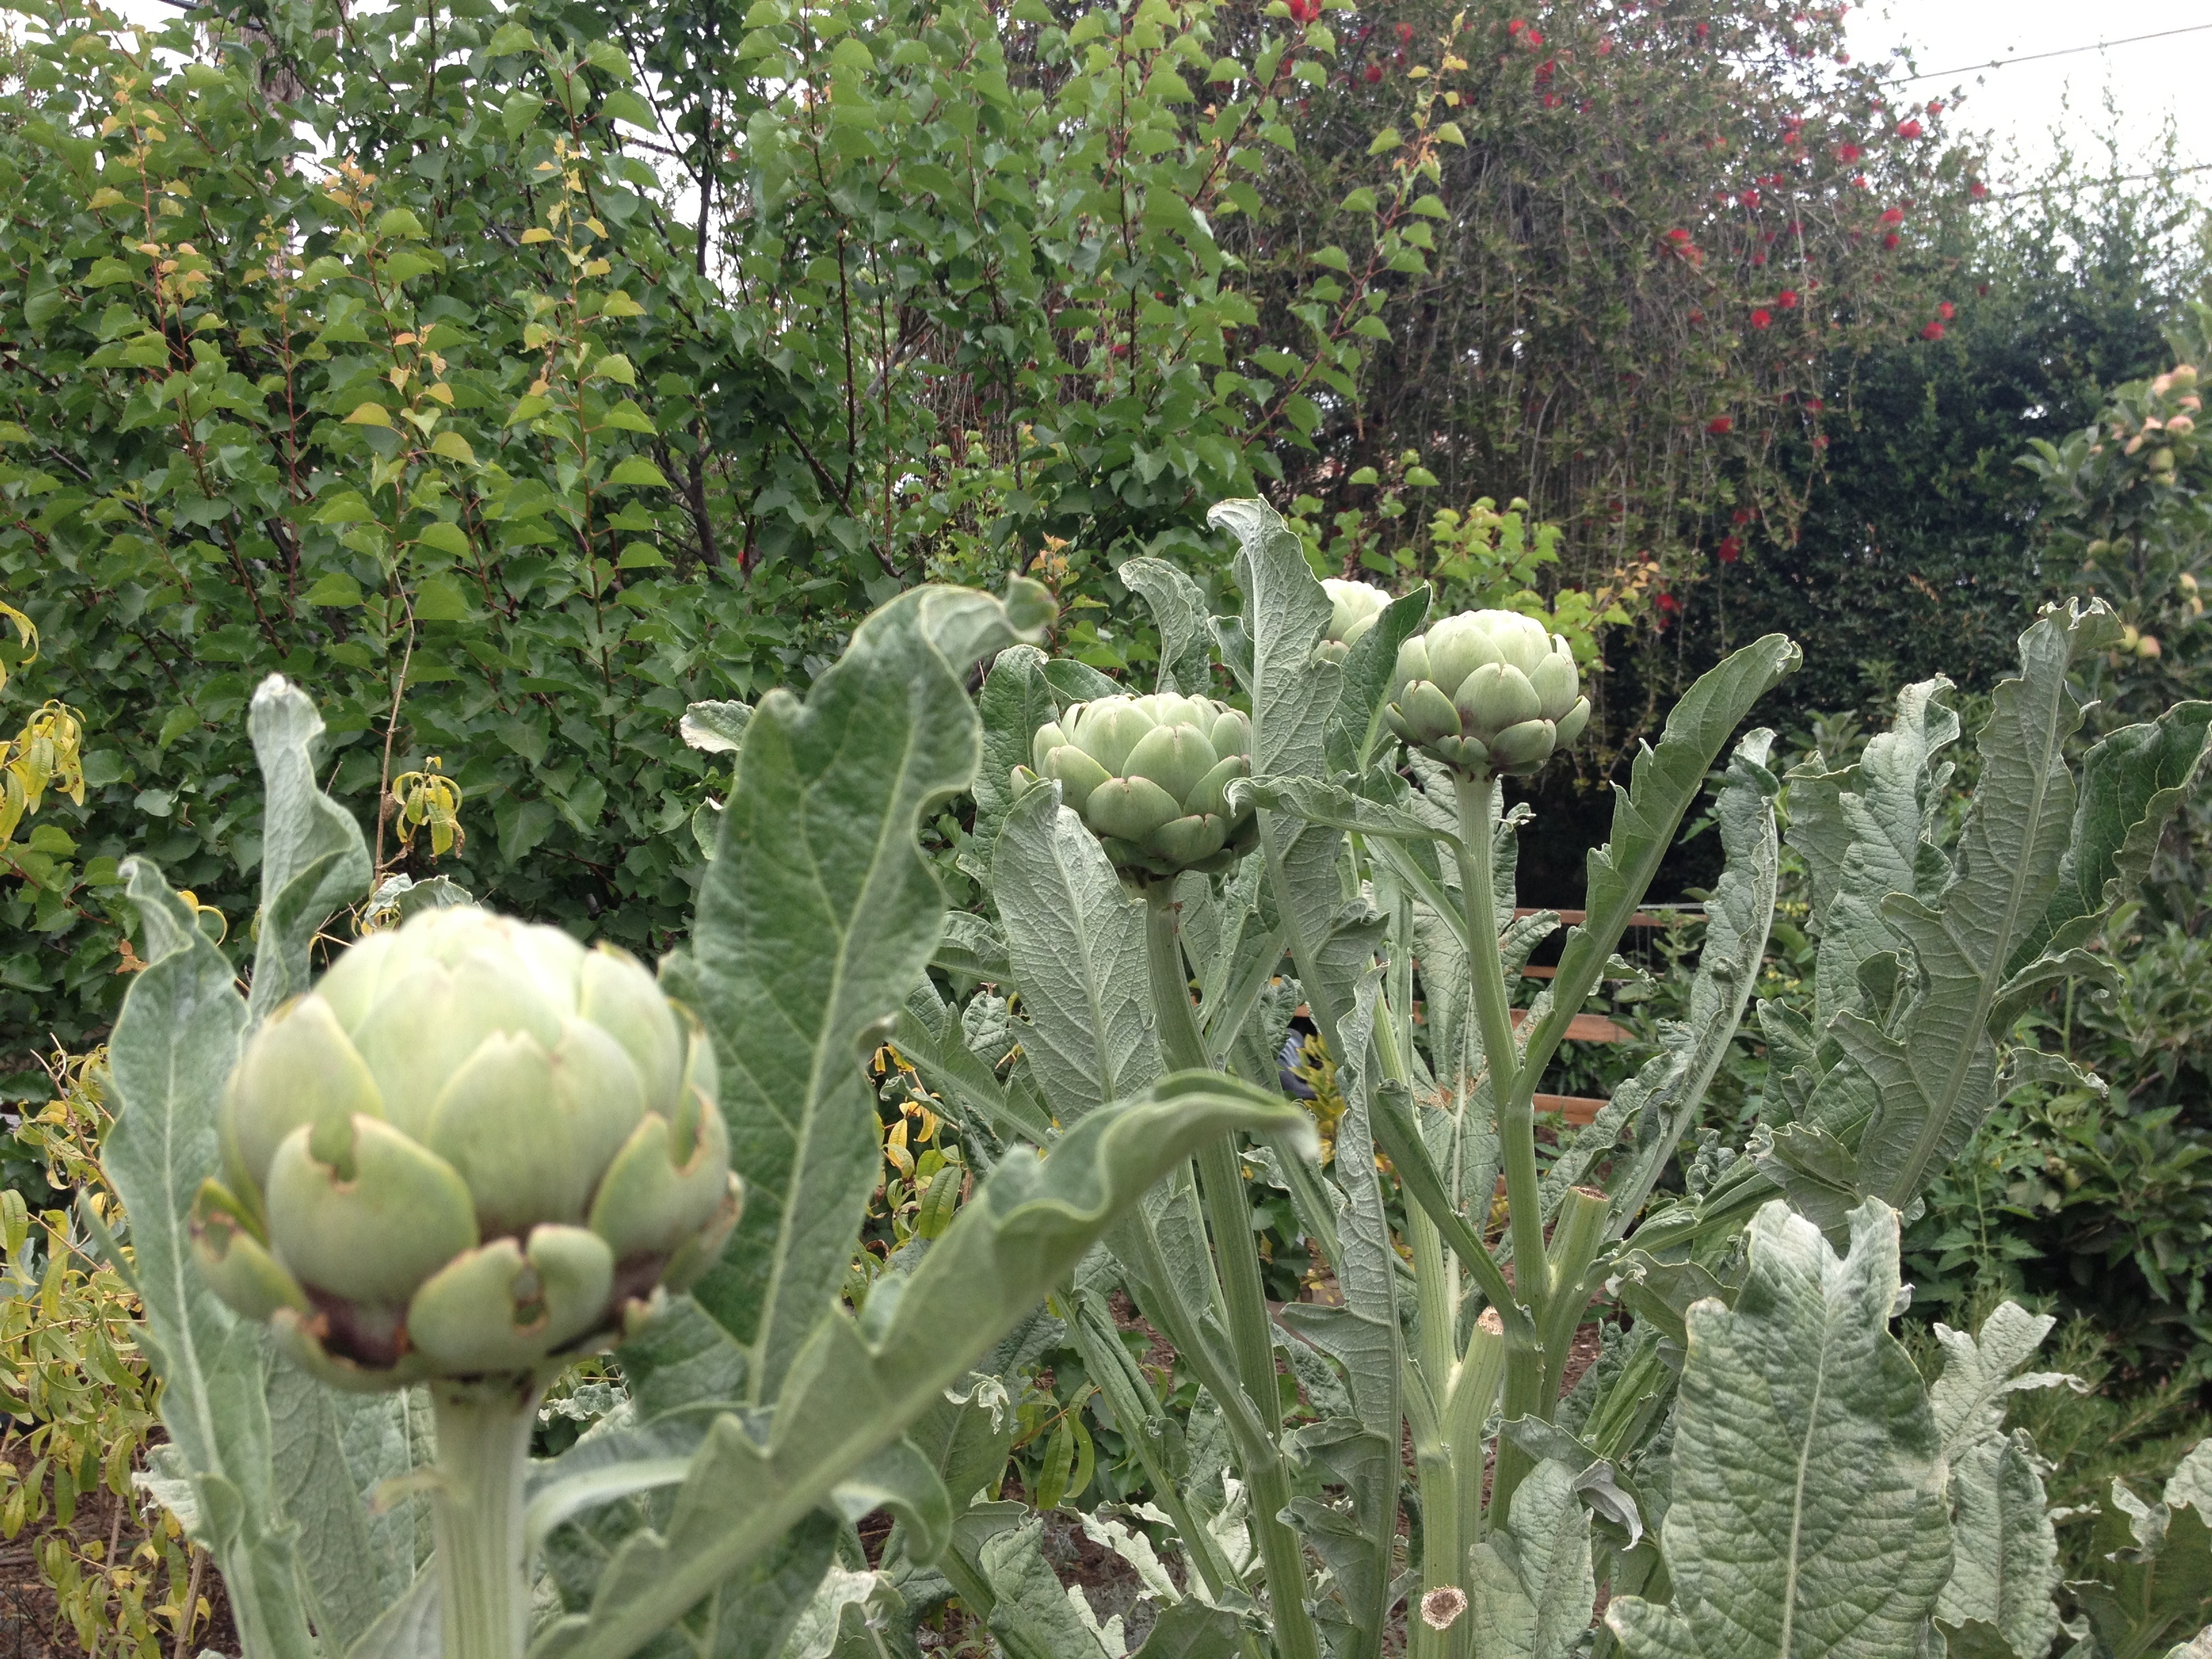
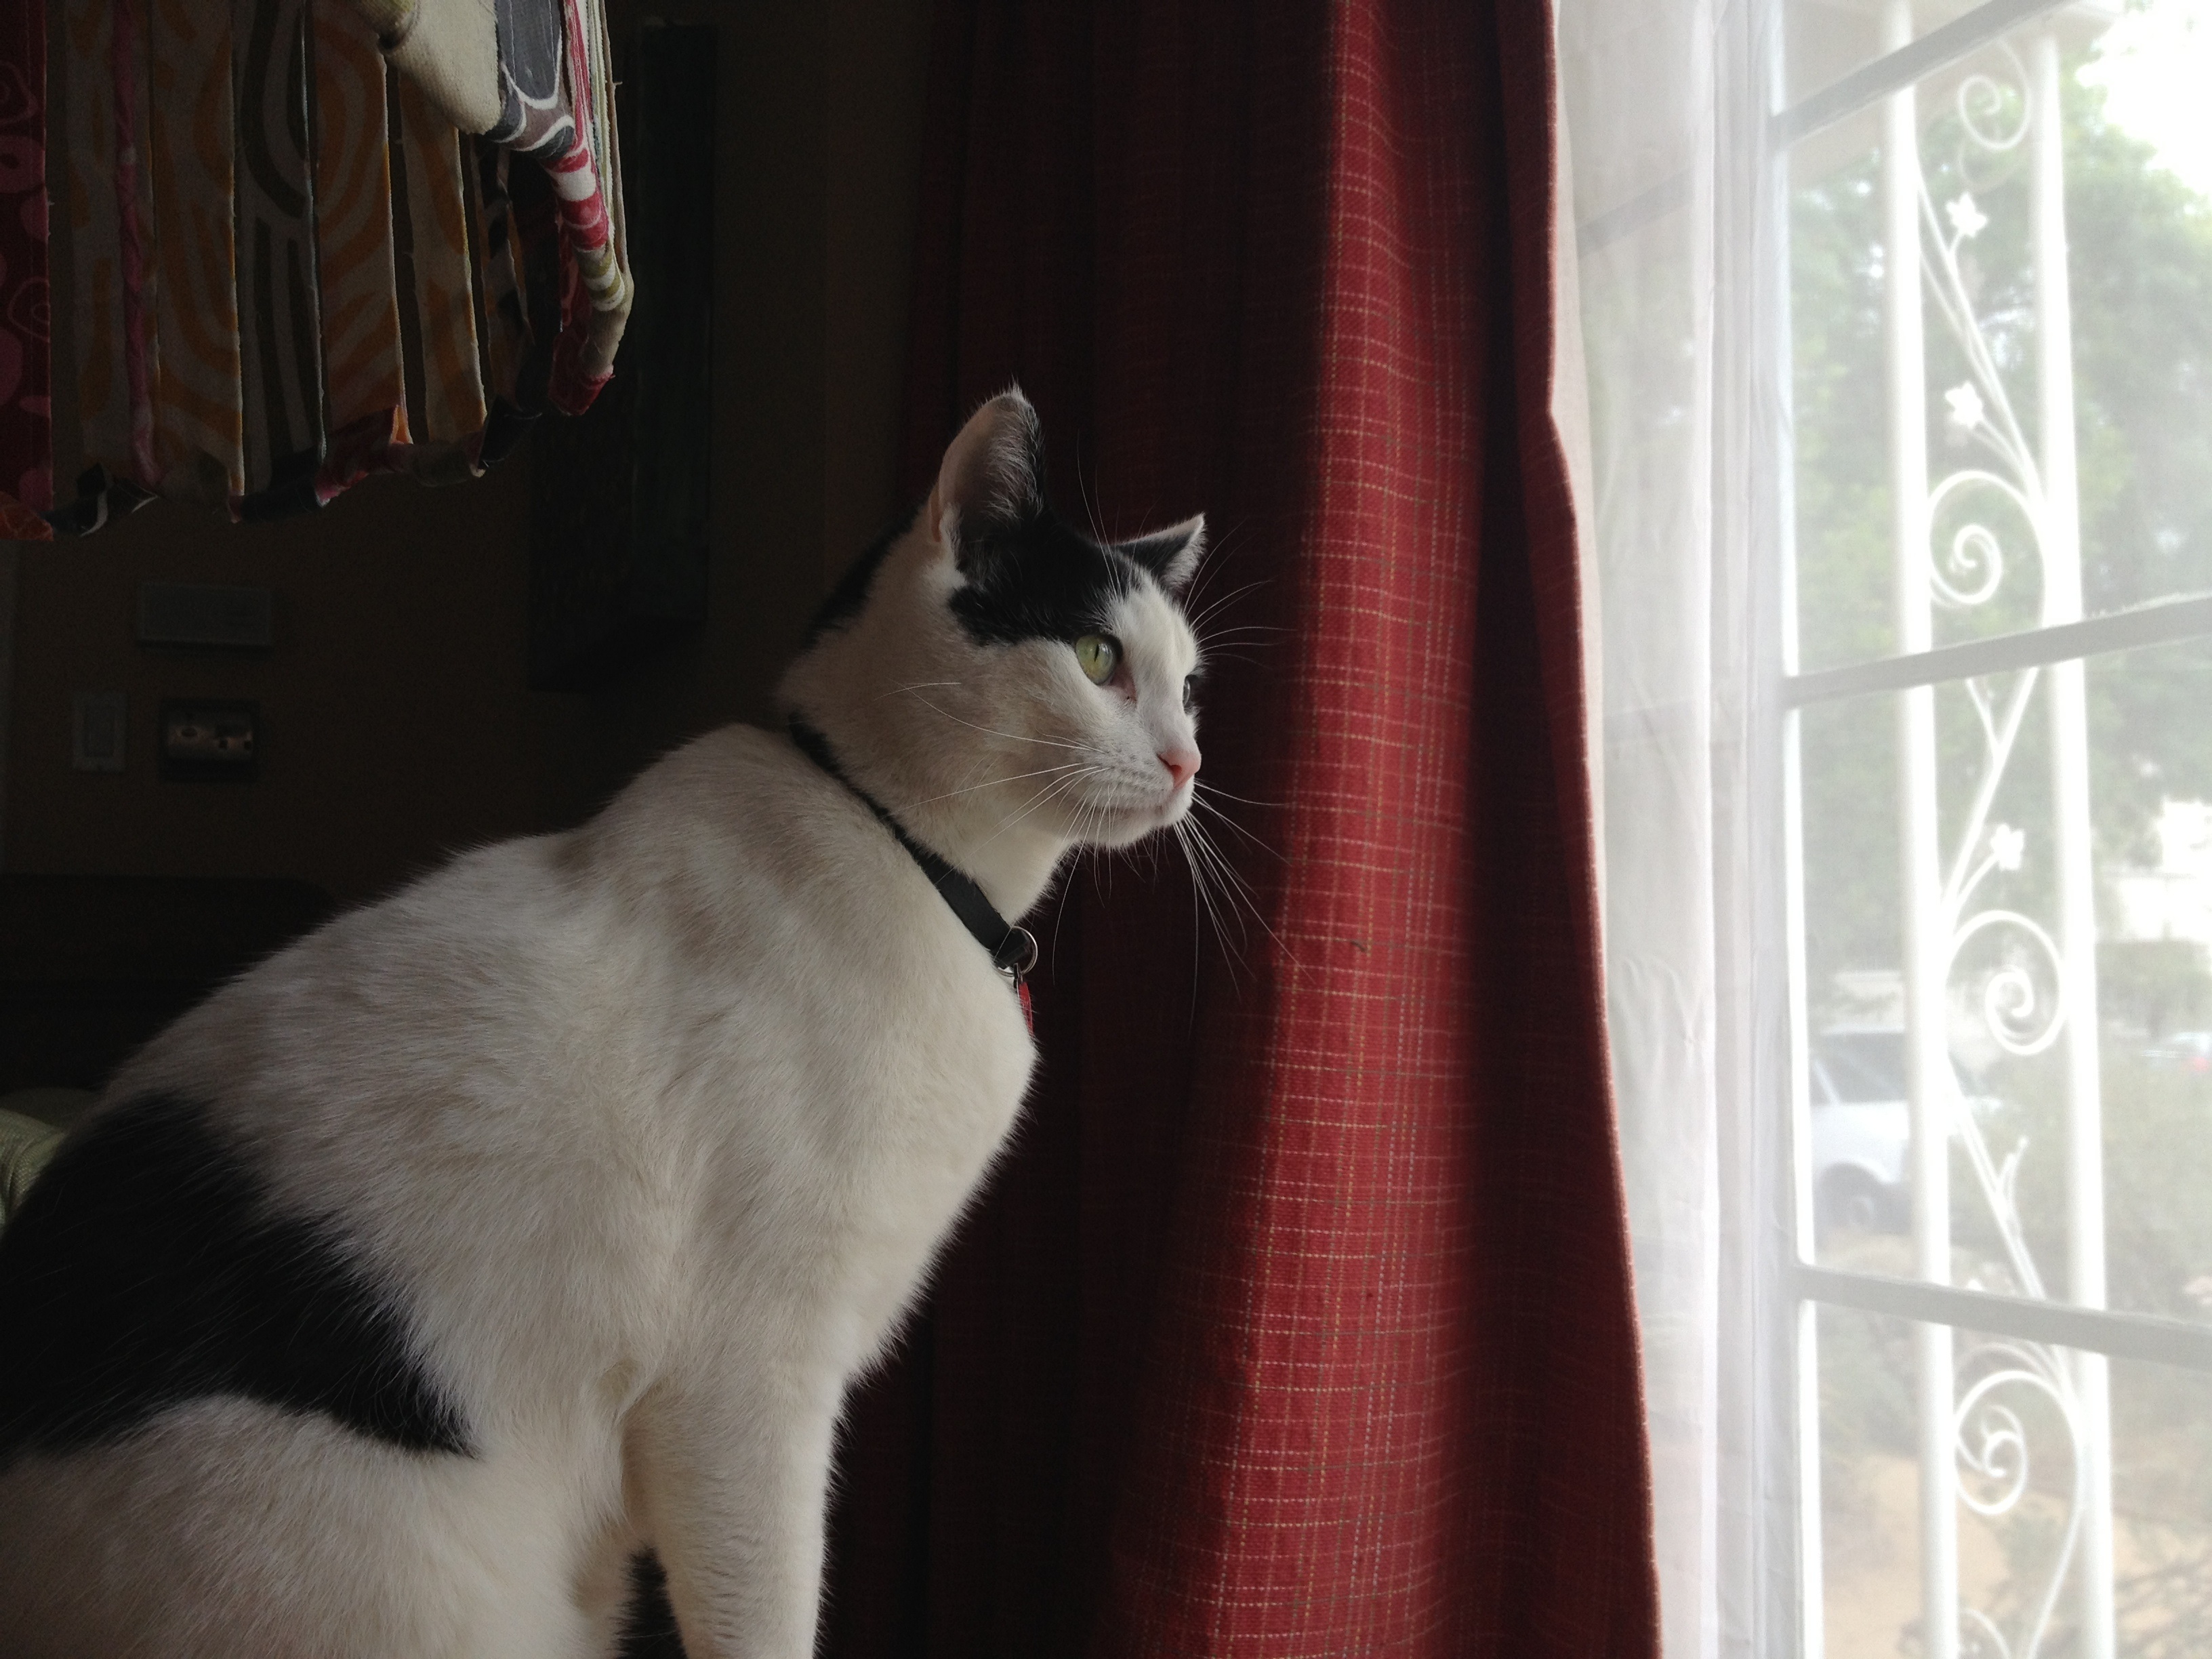
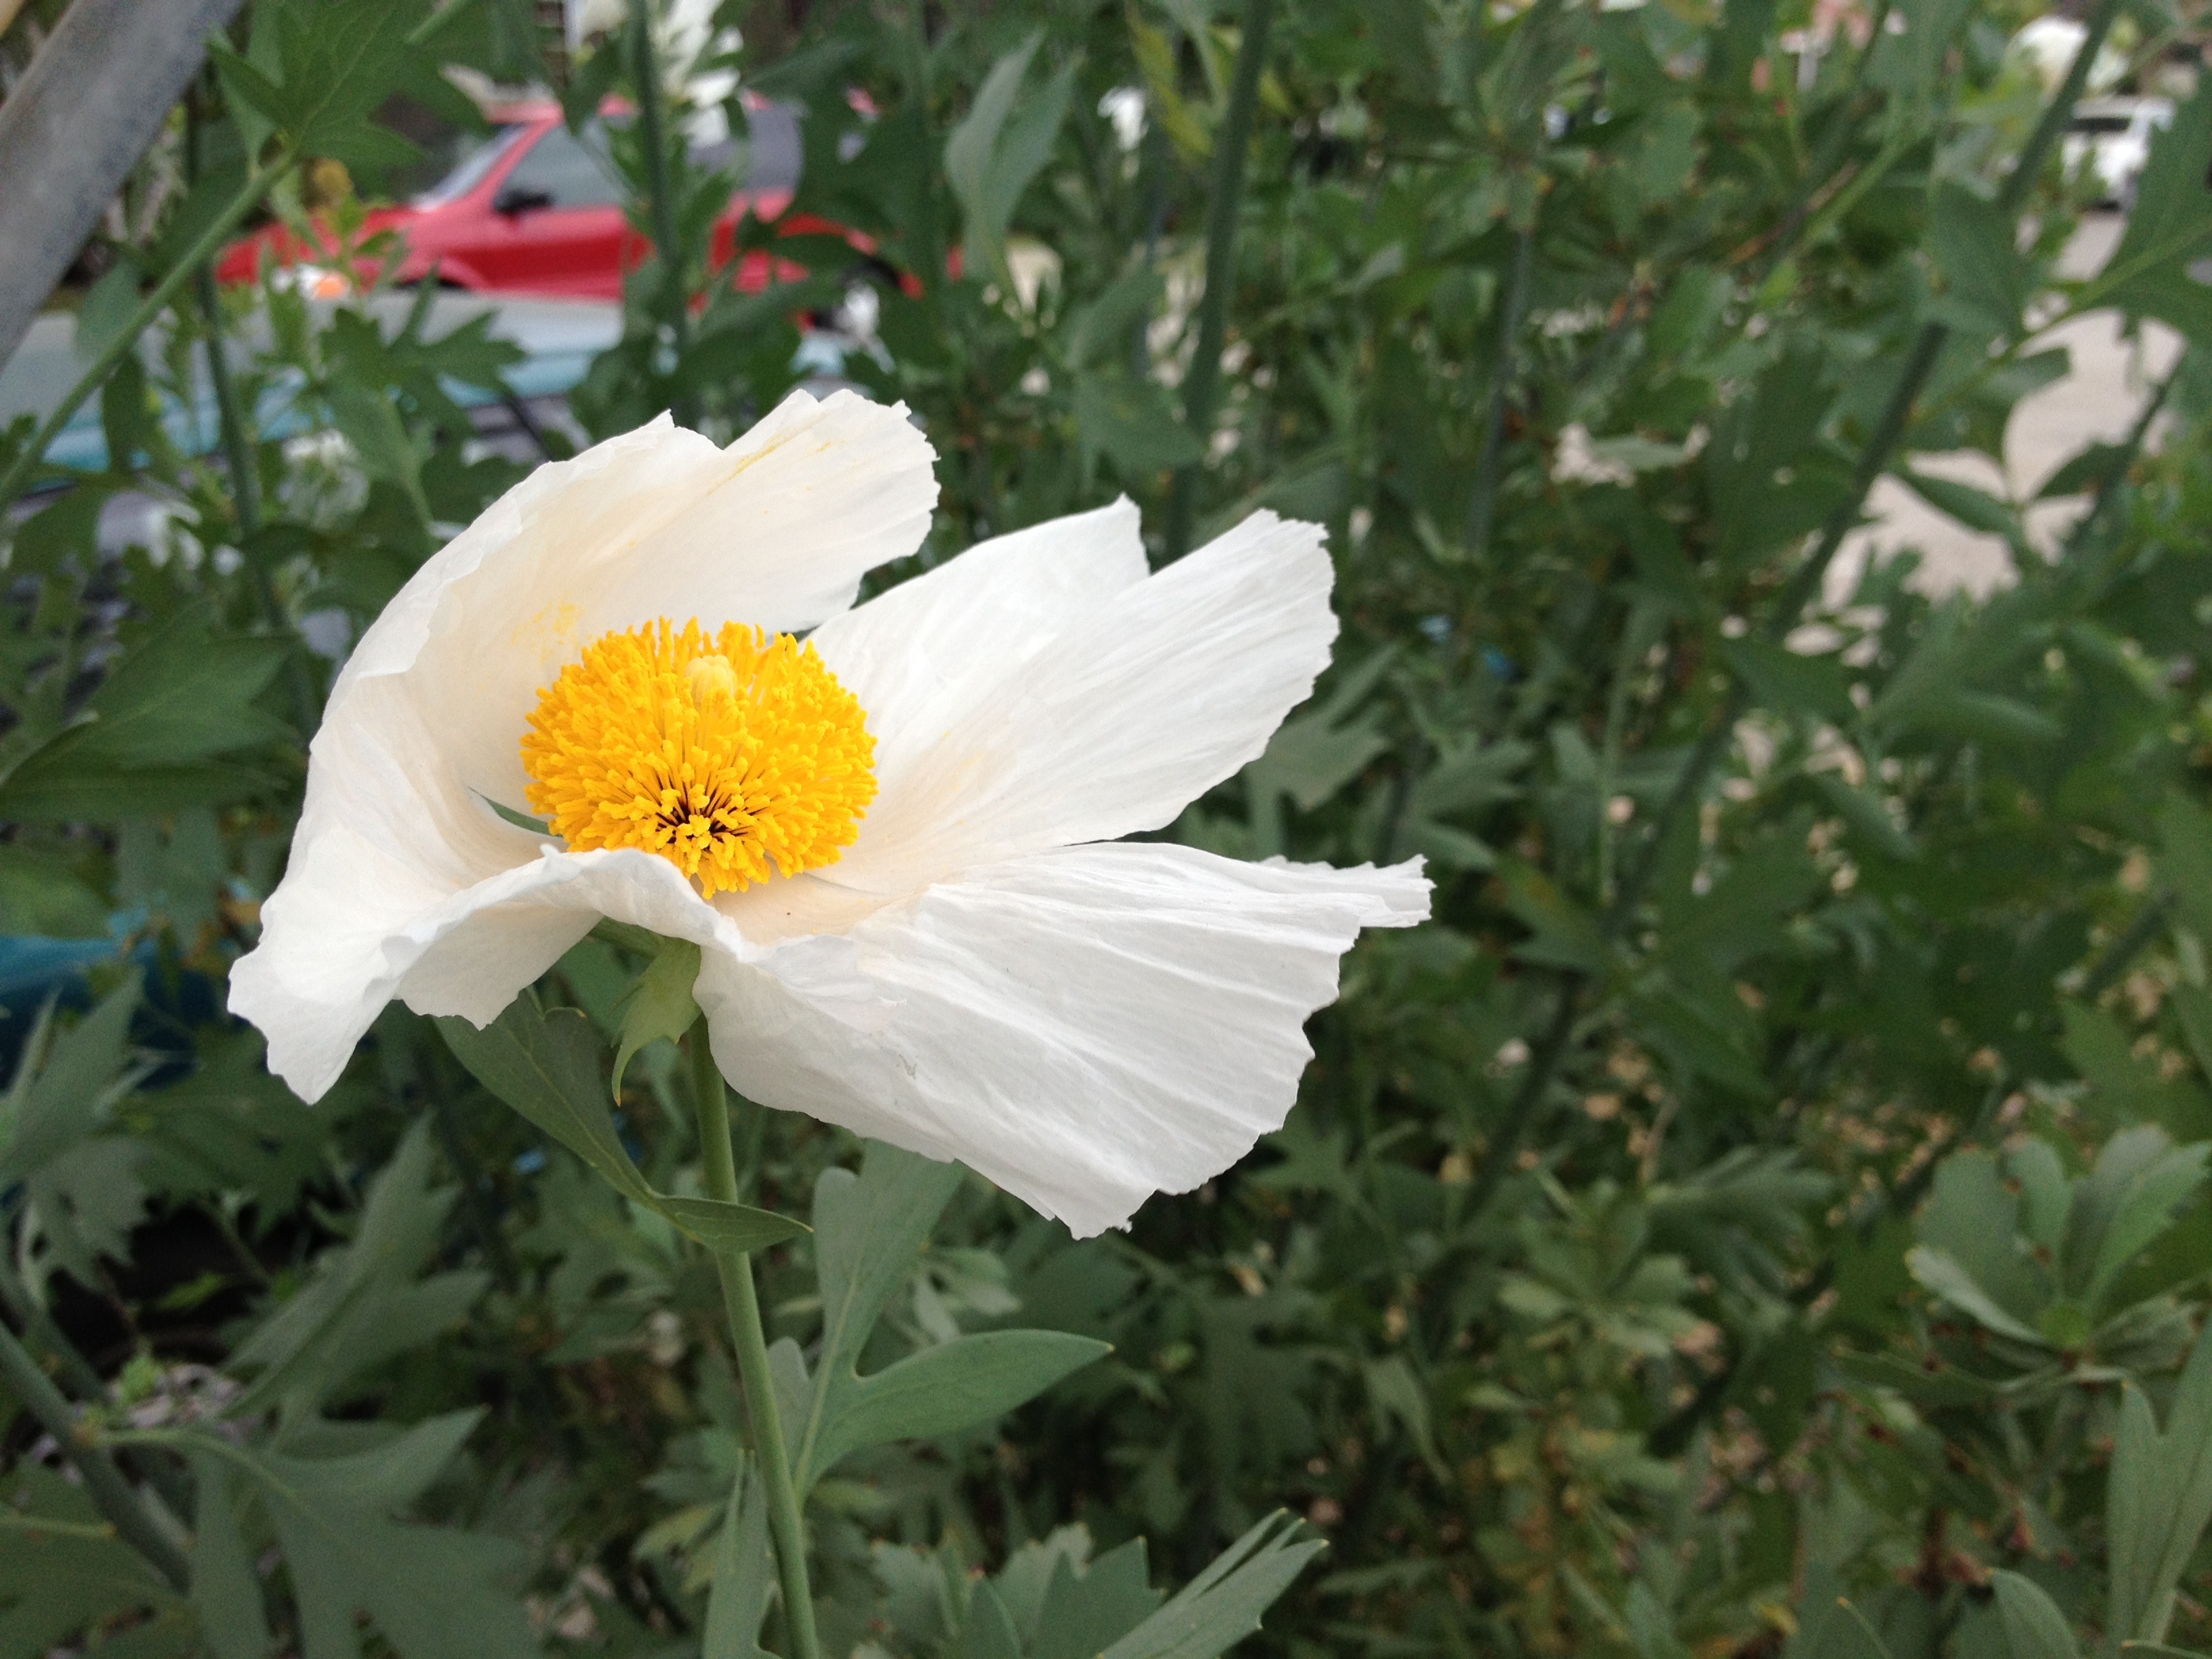
Today I awoke to a lovely gray morning, a cup of tea, and a sleeping house. I had a quiet walk around the garden, where I snapped some pictures.
image
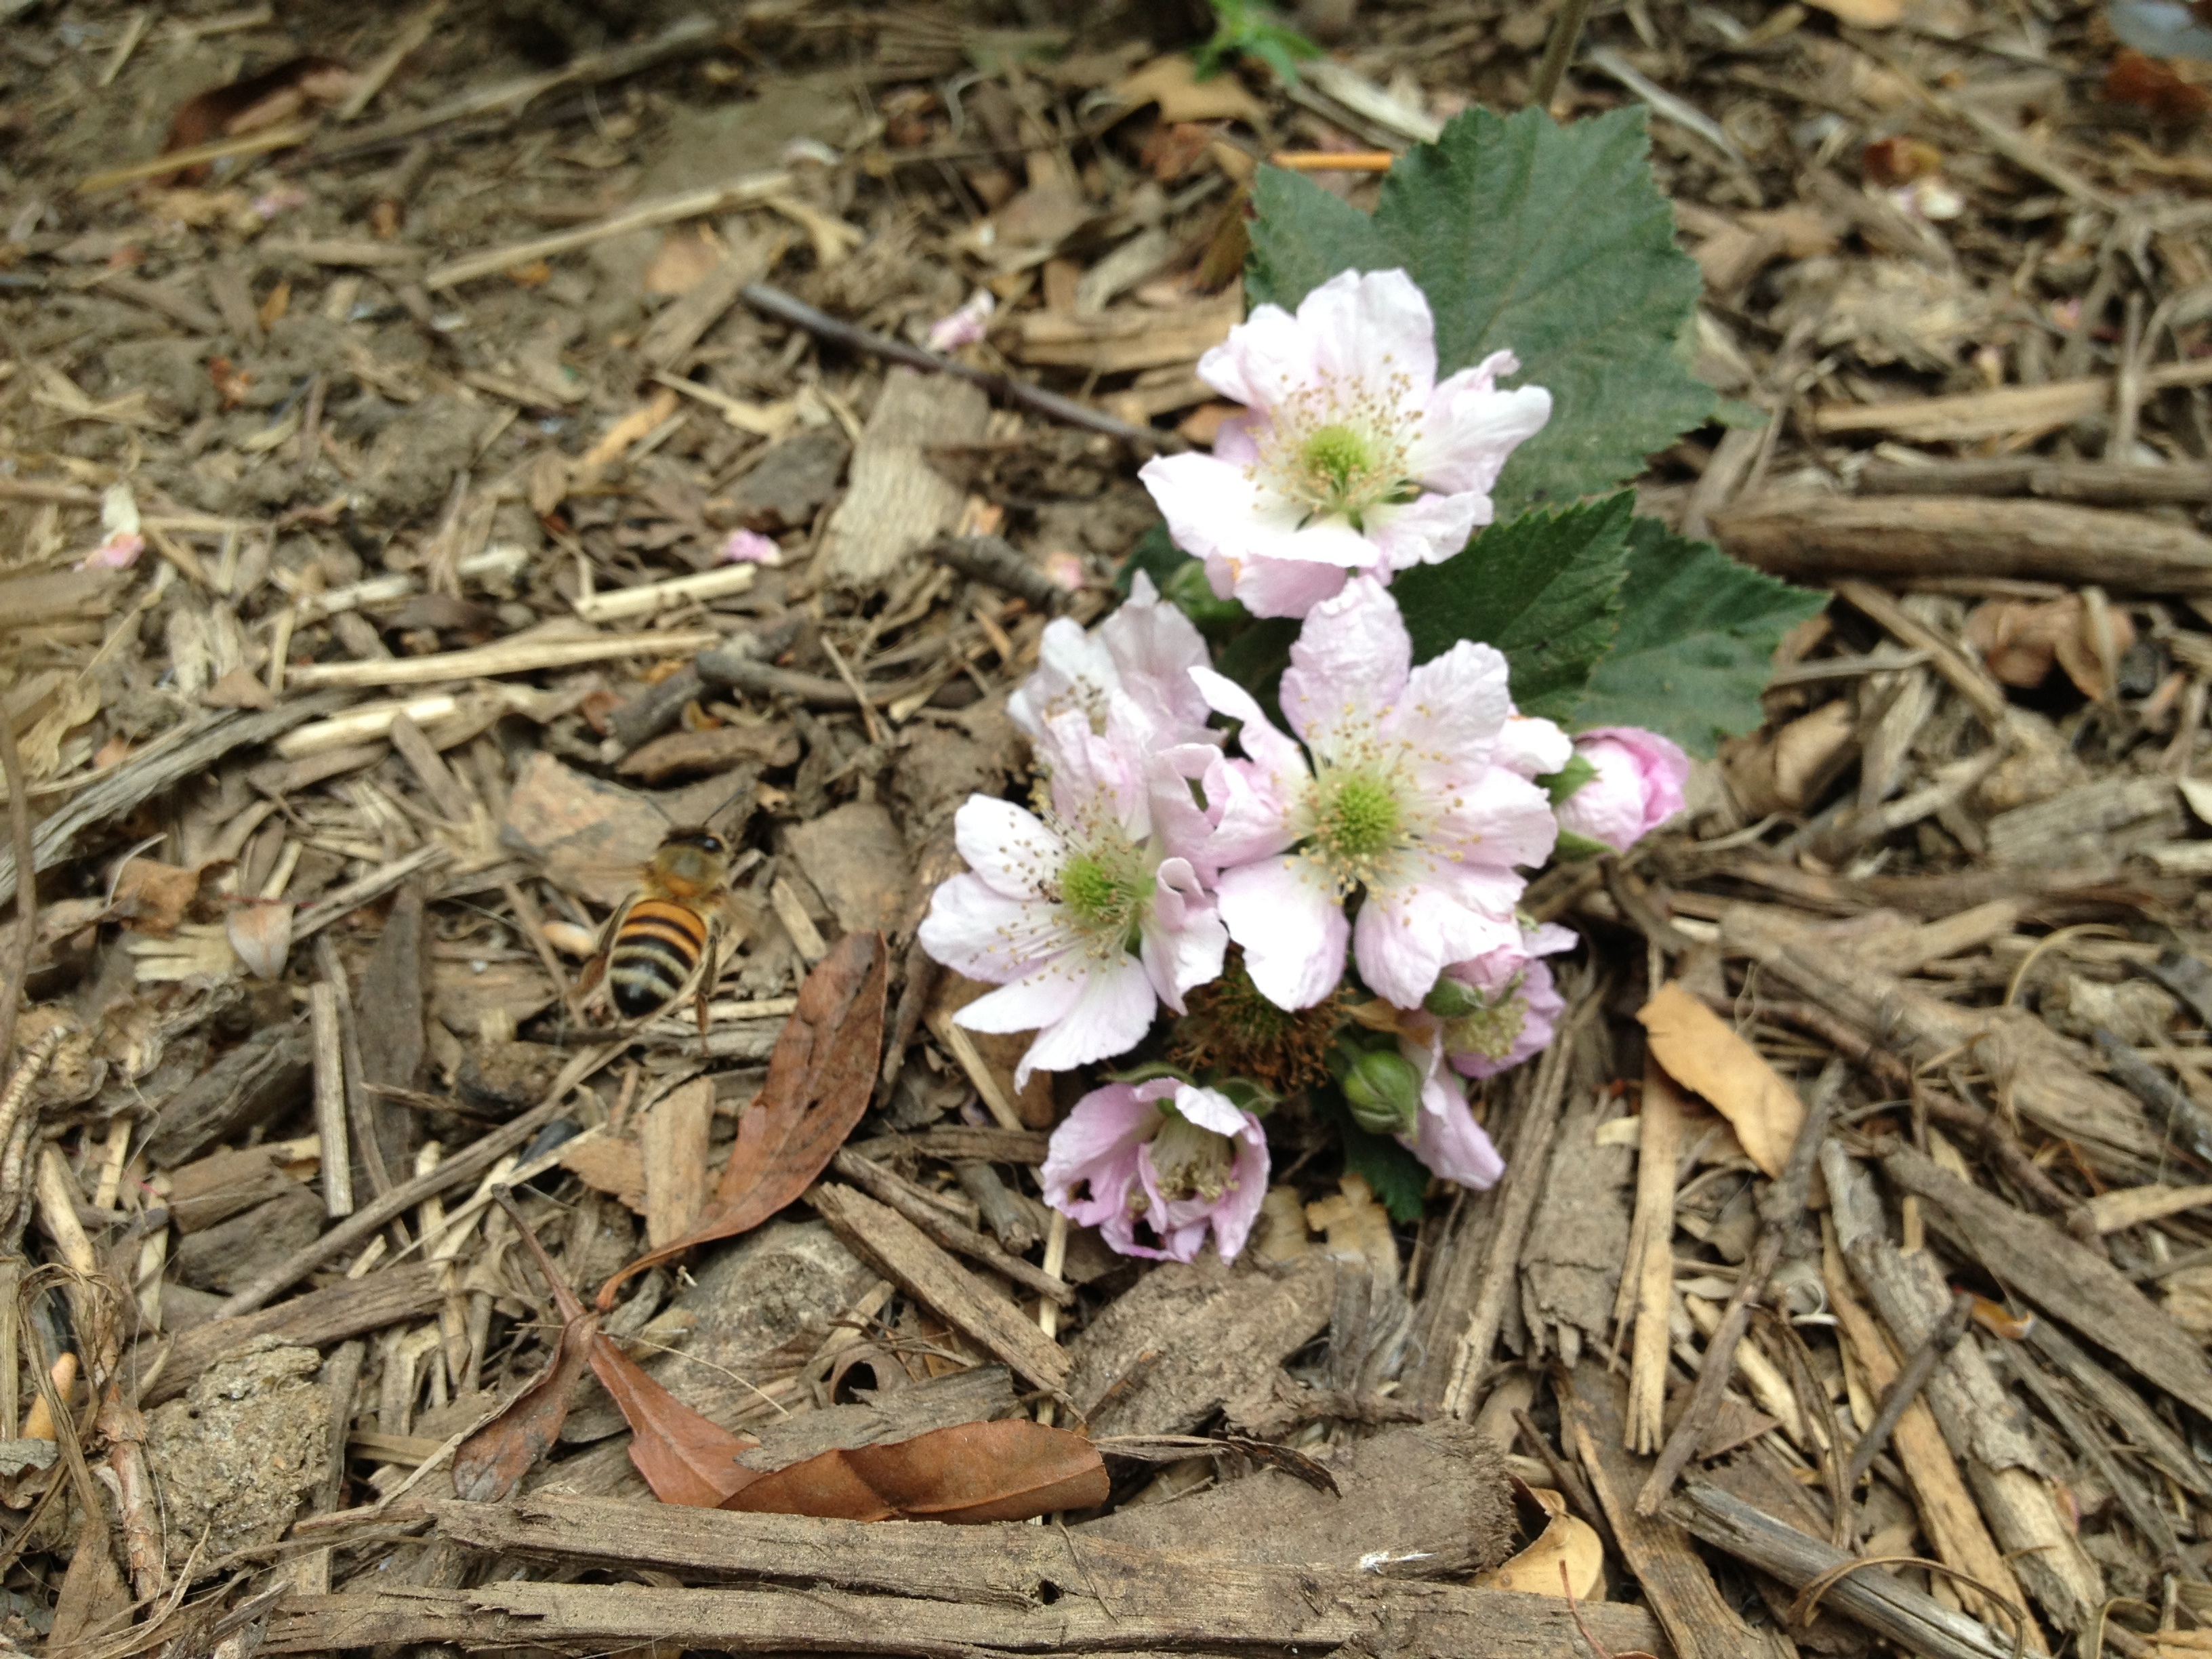
See that bee (center left) coming in for a landing on those blackberry flowers? I don’t know who was more psyched, the bee about to dig in to some luscious pollen, or me, dreaming of blackberry juice dripping down my chin. Okay – I guess I was maybe more psyched. It was a very good morning.

And then, as always, my stomach clock went off. I thought to myself, “Self, what is the best way to celebrate this very good gray morning through food?” My answer to myself was green bean frittata. I’m just not even going to acknowledge that a reader might not see a green bean frittata as a celebration. When one has a pound of CSA green beans and a basket of backyard chicken eggs and a gray morning where a warm oven would make the kitchen even more cozy – it’s a total party.
image
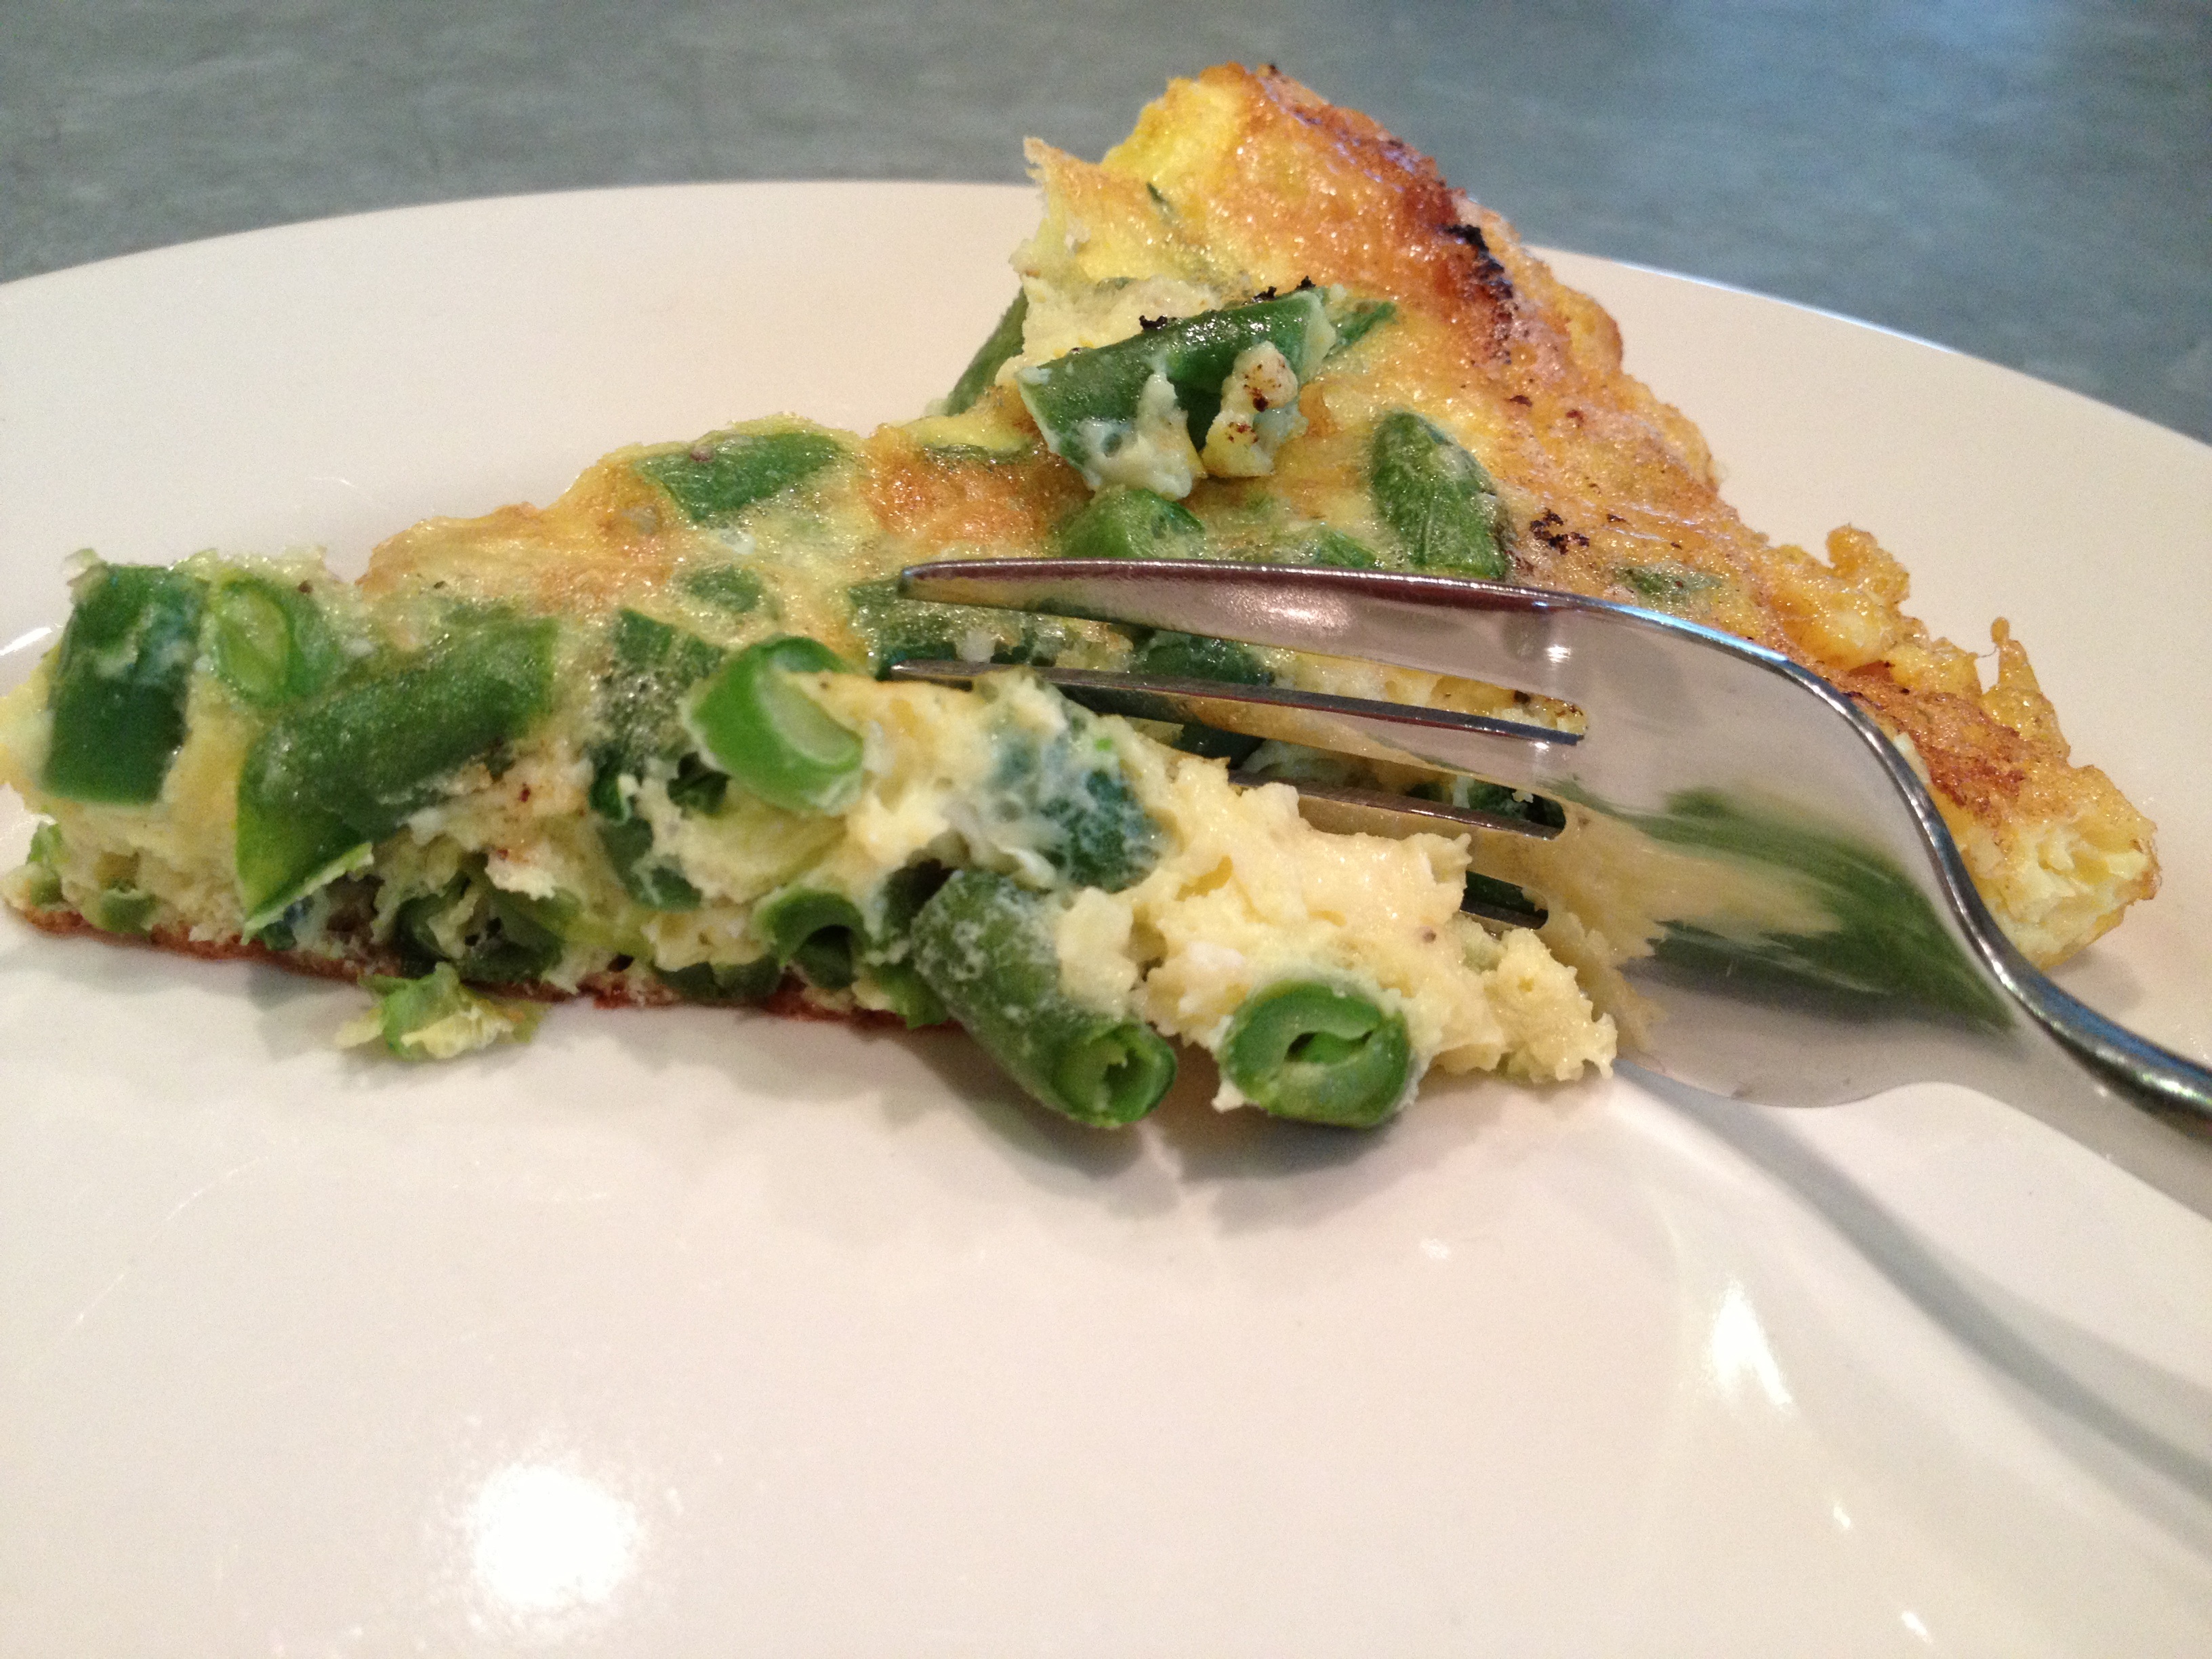
Frittata with Green Beans
Adapted from Essentials of Classic Italian Cooking by Marcella Hazan (If you do not own this book, stop reading this blog and go buy it now. Really, I mean it – go.)

Marcella Hazan is The Man. This is for-sure one of my desert-island cookbooks. Among the many wonderful things about this book is the whole chapter on frittate. That’s the plural of frittata. I know – it’s like an Italian grammar lesson, too.

My version of the recipe adds a quarter pound more beans and loses a quarter cup of cheese. I figure it’s an easy and painless recipe tweak which minimizes calories and maximizes veggies. Sempre healthy.

In my house usually any leftover frittata just hangs out in the cast-iron pan and we nibble on it bit by bit throughout the afternoon (because I guess we only make these on weekends). Although this time I put the leftovers in the fridge and had a big wedge as a sandwich filling with a little arugula.

3/4 pound fresh green beans, rinsed, stem-ends trimmed
Salt
5 eggs
Black pepper, freshly ground
3/4 cup grated parmigiano-reggiano cheese
2 T butter

First prepare the green beans: Bring 3 quarts water to a full boil, add 1/2 tablespoon salt, and when the water returns to a boil, drop in the rinsed and trimmed green beans. Cook, uncovered, at a moderate but steady boil, until the beans are firm to the bite but still tender, about 5 minutes – but possibly longer if your beans are old and tough (like me). Drain immediately and chop into course pieces. Set aside on a cutting board to cool down.

Then prepare the frittata: Preheat your broiler. Crack the eggs into a bowl and beat them until the yolks and whites are evenly blended. Add the chopped beans, salt, a few grindings of pepper, and the grated cheese. Mix well. Melt the butter over medium heat in a cast-iron or other non-stick, oven-proof pan. After the butter starts to foam, but before it colors, add the egg mixture to the pan. Turn the heat down to low and cook until the eggs have set and thickened, and only the surface is runny. Then run the skillet under the broiler for a few seconds. Take it out as soon as the top of the frittata sets, before it becomes browned. Loosen the frittata with a spatula and slide it onto a platter, and cut it into pie wedges to serve. Yum.

Haters Gonna Hate

get-attachment.aspxI guess I have my own haterish issues with this, but here I am writing about Gwyneth Paltrow’s new cookbook, It’s all Good: Delicious, Easy Recipes that will Make you Look Good and Feel Great. And, while I’m not crazy about the over-used phrase in the title, I’ve made several recipes from the book, and I’m here to say: I like it. I really like it.

Full disclosure here: I read Gwyneth Paltrow’s stuff. I have her first cookbook (note to haters: it’s pretty good); I have her travel app (it was kinda helpful on our trips to London and New York); and I subscribe to her blog Goop (although I often don’t read it – a $500 blouse? Yeah, whatever). And, of course, we named our beloved silkie, Gwyneth Poultry, after her. Take a look. The resemblance is obvious, right?

IMG_4171

The New York Times recently published this review on their blog about It’s all Good, which was just over-dramatically critical. For example, the article said the book, “makes it seem that healthy eating is strictly for the wealthy.” Like you need to spend $300 a day to cook from this book. Oh, please. I have made several recipes from It’s all Good that were super cheap. I say it’s a testament to the cheapness (and simplicity) of the recipes that I was able to make so many of them with ingredients I already buy. In fact, here’s a helpful list of the cheap and easy things I’ve made so far:

get-attachment-1.aspxThe review went on to say that the cookbook was, “quack science . . . attempting to export Paltrow’s wacky elimination diet . . . to a populace that’s improperly nourished and financially struggling.” Alright. Get over yourself, New York Times. First, in my work as a legal-aid attorney I have had the opportunity to meet thousands of improperly nourished (maybe) and financially struggling (definitely) people – and I feel pretty certain that none of them are going to buy this book. None. They have many more important things to spend their money on, like food.

Moreover, who says an elimination diet is wacky? Monsanto? Part of the joy of being an omnivore is that we can choose what we eat. There is nothing wacky about deciding to limit or eliminate processed foods, dairy, white flours and red meat from one’s diet.

And finally – it’s a cookbook, people. Just because G.P. publishes a cookbook based on her current ideas about health and nutrition doesn’t mean she’s telling everyone to eat that way. And just because I read her book (or her blog for that matter) doesn’t mean I have abandoned my free will, or critical perspective, and become her zombie-like follower.

Hopefully I’m not too optimistic, but I think that people (even financially struggling ones) are capable of taking information and deciding what works for them and what doesn’t, and not blindly following a cookbook like it’s gospel.

My rant is now over. Now let’s talk about food. Hello there, food . . . My favorite recipe so far has to be the turkey meatballs. I made a few adaptations to G.P.’s recipe (see above reference to free-will) that make them work for me given the ingredients I usually have on hand. And I have doubled the recipe, so I can keep them in the freezer for a quick lunch or to throw in some tomato sauce for dinner. Haters, begone!

Miraculous Turkey Meatballs
Adapted from It’s All Good by Gwyneth Paltrow and Julia Turshen

I’m certain the original recipe is perfect as is, but I happen not to have some of the herbaceous ingredients around generally, so I improvised a bit. What I did not alter at all was the crazy-brilliant idea of replacing the milk-soaked breadcrumbs and eggs typically used in meatball recipes, with a puree of onions and herbs.

Plenty of moisture to get the turkey to stick together + much more flavor than milk and egg soaked bread = miraculous meatballs.

2 small onions, roughly chopped
4 cloves garlic, roughly chopped
1T dried Italian herb blend (or use whatever dried herbs you like)
2 large handfuls of arugula (about 3 cups)
1/2 cup flat-leaf parsley
2 lbs. ground turkey (I used 1lb. white meat and 1 lb. dark meat)
2t kosher salt
1t ground black pepper

Preheat the oven to 325 degrees.

Put the onions, garlic, dried herbs, arugula and parsley in the bowl of the food processor and pulse until very finely chopped and mixed together into a kind of mash (but not a soaking wet mash – you don’t want all the juiciness to run out of the meatballs when you bake them). Put this mixture into a large bowl and add the turkey, salt and pepper. Use a spatula or your hands to thoroughly mix everything together. Then roll the mixture into 2.5″ meatballs (the size of a handball) and space them evenly on a baking sheet (I used two sheets). Bake for 25-30 minutes or until cooked through. That’s it. They are ready to go.

If you wanted you could under-cook them a tad and have them finish cooking in a tomato sauce or something. I’ve been eating them plain, on top of a salad, like this:

turkey meatballs Note to self: take the photo before you eat.

Better Late than Never

Better Late than Never

Am I right? Oh man – I hope so. I would like this blogging thing to work out. I remain hopeful that it will. And so, I push on again.

In the many months that have come and gone since I last posted here, I’ve been kinda busy. Among other things happening around Nerdhaven West, I completed a course in food preservation – the Master Food Preserver Program offered by the UC Cooperative Extension. I am now a Master Food Preserver (can’t you just hear the trumpets?)

Food preservation – like blogging, apparently – requires an optimistic spirit. Food preservers regularly face the existential question: “Will this be good to eat in a year?” (i.e., toxic? tasty?) In a preservation project, one commits the time, energy and resources in the present and hopes for the payoff in the future. Certain predictors maybe increase the likelihood that it will be worth it – but one can never truly be certain . . . One predictor of success is whether the food was preserved following a tried and true recipe. Hope is nice, but it can’t prevent a mold from forming or make a product taste good.

But with this project, I’m not really following the rules. So hope is all I have to go on. As a cook, this style makes me nervous. It violates my Virgo-lawyer sense of order. Rules are good. I love rules. This particular project, what I’m writing about today, it’s more my sister’s style – she has been known to go off road in her cooking. I mean – hey, it’s just food!

And in this case it’s not even food. It’s booze: nocino. A liqueur made from green walnuts and aromatics soaked in vodka. I learned about nocino in my Master Food Preserver class, where it was spoken of in somewhat hushed tones . . . the flavor is elusive . . . think cinnamon toast and coffee and maybe some Coca-Cola in there . . . but soooo good. The idea stayed with me because it is such a delicious way to use green walnuts, a fairly common Southern California backyard nuisance – um, I mean fruit.

While the taste of nocino lingered in my mind, the recipe did not. So when a friend called me up on August 4 and said, “hey I have walnuts on my tree and they are starting to fall, do you want any?” I took a quick look at this David Lebovitz blog post (to see how many nuts I needed to harvest) and ran right over with my picker and my trusty assistant:

Then I promptly came home and chopped those babies up. I had a feeling the walnuts were a bit past their prime, because when I chopped them, they didn’t look exactly like the David Lebovitz photo I saw before I ran out to go pick. His looked all young and fresh and perky and lovely. Mine looked like this:

Those are some old, hard nuts, am I right? Turns out, nocino is made from walnuts picked on June 24th – the feast day of St. John the Baptist. That is when the nuts are soft enough to cut with a knife. But I was not hampered by the knowledge of this rule at the time. I picked my walnuts on August 5 and chopped them all up and put them in the vodka on August 6. Later I learned, from this helpful LA Weekly blog article, that while the green walnuts are traditionally harvested on June 24, really they are still soft enough to be picked for nocino into July. Later than that, the walnuts have begun to form their hard shells, making them difficult to cut open. And then, “By August, it’s a done deal and you have to wait for next year.”

Wait, what? Done deal? I made it already! What do you mean, done deal? Like they cannot be cut? I cut mine. Okay maybe some were more like smashed; and some I could only cut into halves, not quarters as the recipe instructed. But still, the interiors are plenty exposed to the alcohol. Or does the author mean done deal as in, don’t even try it because the old-ass walnuts are too mature to be tasty and what you end up with after months of maceration and resting is a black and boozy substance too bitter to imbibe. Who knows? But I hoped. And then I put my container of walnuts and vodka in a cool dark place and moved on.

Until today, when – ever hopeful – I went to put another food preservation project (fermentation) into my cool dark place and ran into my old friend the nocino container. Doh. I realized I was supposed to strain it like two weeks ago. So I strained it out. Here’s a photo of the solids, they were beautifully shiny and black and looked very Halloweeny:

Of course I also tasted it. But of course! And it seemed . . . fine. I’m refraining from judgment. I compared it with the sample I received from the MFP course, and mine was stronger, harsher. But hey, the MFP sample has been sitting around for a long time, maybe a year or more. It’s a wise old brew. My nocino is in its infancy. A wee babe. The Baby Huey of liqueurs – and made with old-ass nuts past their prime.

Both of the recipes I consulted said that the nocino should sit for a couple months to mellow – so mine is on track for the Holidays. Maybe this might all work out. Maybe I’ll have a homemade gift to give this year. Maybe I’ll be ringing in the New Year with some nocino. Here’s hoping!

My August 2012 Nocino
Adapted from the recipes of David Lebovitz and Felicia Freisema

Some notes: (1) don’t wear clothes you care about when you are making this recipe. These walnuts are crazy-staining. (2) Wear gloves – ones that nothing can soak through – and still be prepared to have your fingers stained afterwards. I wore gloves and my fingers were still stained a week later. (3) Here is a tip from David Lebovitz which saved my life: use a cleaver, tap it into the skin of the green walnut, then lift the cleaver and whack it down on the cutting board to split it (I used the same technique with a butcher knife, and it worked).

60 walnuts, washed, dried and chopped/smashed into quarters or halves
5 cups sugar
2 liters vodka
4 sticks cinnamon
20 whole cloves
zest of two lemons, peeled off in long pieces with a vegetable peeler one vanilla bean, sliced lengthwise

1. Place the walnuts into a large container with a tight-fitting lid and pour the vodka over and be very psyched that you actually did this thing. Now go clean up the mess from the chopping/smashing.
2. Wait two days and then realize you forgot to add the other tasty ingredients. Add all the ingredients except the sugar. Stir well.
3. Wait two more days and then realize you forgot the sugar. Geez. Add the sugar and stir well. Put nocino in a cool, dark place.
4. Wait two months. Find the nocino. Strain it through a cheesecloth to remove the sediment (especially if you used the smashing technique). Then decant into clean and sterilized bottles. I understand that nocino mellows as it sits, so don’t drink this right away if you think it’s too strong or bitter. Decant it and then let it rest a couple months before using it.
5. Put June 24 into your calendar for harvesting green walnuts next year.

Fresh and Exciting

So we are doing taxes and financial aid forms for colleges ($55K a year for college!  Really? Just in case there wasn’t enough of a divide between the 99 percent and the 1 percent . . . sheesh don’t get me started). We are up to our eyeballs in money talk these days. So for a minute or two I am going to put off the actual hard-core analysis of breaking down our finances and skip to healthy, simple (and cheap) food, which is what I’m trying to work on every day, anyway.

I’m trying the basics: Living my life responsibly and making my own stuff, when I can – and trying to learn something new every day. Recently, I learned that I can make yogurt. This is not trumpets-blaring news, I know. But it’s exciting for me . . . I finally did it after wondering about it for, like, ever.

Folks have been making yogurt – in a zillion different forms – all over the world for generations upon generations, probably as long as mammals, bacteria and humans have co-existed. (I’m picturing the first moment of yogurt – some suspicious wife passes some old, curdled milk toward her husband and says, “Taste this – is it still good?”) I am happy – okay, proud – to now be part of the flow of the history’s yogurt-making peoples.

I can’t believe it took me this long to try yogurting myself. This is easy, tasty and cheap – just like they did it in the old country. It is really a testament to the power of marketing that we all go out and buy this stuff when it is so easy and soooo much tastier to make it at home. This yogurt does not resemble the typical grocery store kind at all.  It’s more like what you’d get from Greek yogurt – but the flavor is not just tangy, it’s delicious. Maybe because it is made so fresh.

Yogurt
Adapted from Milk: The Surprising Story of Milk Through the Ages by Anne Mendelson (Although the recipe is all over the place, I like to cite a reliable source.)

If you and/or your family are not yogurt freaks, like we are, you could just cut this recipe in half. It works just fine and heats and cools faster.

Ingredients:
1/2 gallon whole or 2 percent milk
3 tsp. plain unflavored yogurt with active cultures

Equipment:
2 quart-sized glass jars
Gas oven with pilot light (or not, see Note below)
Candy thermometer (or you can just eyeball it)

1. Heating/Cooling: Pour the milk into a heavy saucepan.  Attach the candy thermometer, if using. Heat to 180F (until it’s just about to boil). Take the milk off the heat and cool to 110 º F (not quite hot to the touch). You can put your pot in a larger bowl with ice water to speed up the process to 10-15 minutes or so. Or you can just let the milk cool on its own (while you watch the Daily Show, for example) for 25-30 minutes or so.

2. Inoculating: Put 3 Tbsp. of store-bought yogurt in a small bowl and stir about 1 cup of the milk into it. Then stir this mixture back into the pot of milk.

3. Incubating: Pour the milk into the two quart-sized glass jars. Gently place the two jars in the oven – no need to cover – and then do not disturb or jiggle or bounce or jounce or anything for 6 -7 hours. My routine is to make this overnight – the kitchen is quiet, and I get to cook while I sleep. Nice.

4.  Waking: In the morning, shuffle into the kitchen to find two containers of yogurt in the oven! I save one to use in smoothies (awesome – although what will I do without that constant stream of 32 oz. plastic yogurt containers coming into my life?). With the second container, I move onward – and upward – to step 5.

5.  Draining: This step isn’t necessary if what you are want is a yogurt to use in smoothies, or if texture is not a big deal to you. But if you want a hauntingly delicious yogurt to eat with honey or preserves, or to use in a dip or salad – you really must drain it. Once I tasted the drained yogurt – I couldn’t get the taste out of my head. I wanted more . . . Here’s the step: Line a strainer with a bandana (see fancy orange bandana in photo above) and place it over a bowl deep enough to catch 4 cups liquid. Then pour the yogurt into the strainer and let sit about 3 hours. Turn the yogurt out into your storage (or serving) container and stir until smooth. Serve yourself some yogurt right away, spoon some honey on top and . . . prepare to have your mind blown. Enjoy.

Note: Denise has joined the yogurt-making flow by making yogurt without a pilot-lit oven. You go girl! Just use a hot-cold plastic container, or wrap the jars in towels and put them in a cooler. Whatever it takes to keep the incubating yogurt cozy at 110 º F. If the temperature drops below 110 º F, the yogurt will be thinner or take longer to set. But as long as you have the active starter and a peaceful place for the yogurt to incubate – yogurt will happen.

P.S. Making yogurt at home is also – big surprise – cheaper than buying it at the store.  Two quarts of this yogurt cost me $3.00 to make (I used 1/2 gallon of organic milk, which I buy at Trader Joe’s for $5.99/gallon). While the price for one quart of organic yogurt at TJ’s is $2.99. So I am getting two for the price of one by making my own.  True – when I don’t buy the yogurt at the store I do not get the quite useful plastic tub it comes in . . . but I will trade the tub out for being that much closer to saving 30 Large.

P.P.S. Did you like my old-school yogurt photo? I took the photo on my phone and old-schooled it on this cool Japanese site. I’m going there now to make all my photos old.

Take it Easy

I am writing this post while standing on a corner in Winslow, Arizona. Not really. I am trying to take Glenn Frey’s recommendation and “take it easy.” In my mind, I am right here, chillin out:
Winslow AZ Image by Rogie 09 via Flickr

As part of the 30 Large Project, I have decided to try to feed my family of four for $650 a month.  “Whoa!” I hear from my friends, “That is hard!”  I’m thinking no: climbing Mount Everest is hard.  Running for President is hard.  Grocery shopping is not hard.

Rather than adopting an excuse why I can’t feed my family more cheaply (like, it’s hard), I’m proceeding with the attitude that it’s easy.  Why not?  Food is not rocket science (which, I hear, is actually not all that hard).

Taking the easy route, I’m starting with rice and beans – it’s not like I’m going to make this cheap eating stuff work with filet mignon.  I’m also starting with Indian food: flavorful, lots of veggie options (veggies being cheaper than meat), and our kids really like it.  It’s probably the #1 thing they fell in love with on their trip to London a couple summers ago.  No, not the Tower of London or scones or theater: Indian food was the take away . . .

So I got an Indian food cookbook, Vij’s at Home: Relax, Honey (even the title seems to take it easy).  We have been to Vij’s restaurant in Vancouver, B.C., and had the greatest time, so I was happy to get the chance to try some of their food at home.  Turns out, Indian food is super cheap – and can be easy to make as well.  Funny, I always thought making Indian food was hard – you know, like ending global warming.

Back to rice and beans.  I made their Rajmal Chawal (aka kidney beans and rice).  It was delicious.  We ate it for dinner (with a veggie alongside) and then we had enough for several lunches of leftovers.  See? Cheap and easy.
Kidney Beans and Rice aka Rajma Chawal
Adapted from Vij’s at Home: Relax, Honey by Meeru Dhalwala & Vikram Vij

The first time I made this, I made it exactly as the recipe instructed, but I thought – while it was super yummy – it was too watery and too spicy.  We also really like ginger, so I added extra. I have given you my preferred measurements here. Feel free to add more cayenne (up to 1t) and more water (up to 6 cups) if you want it spicier or soupier. If you (like my sister) are not a fan of kidney beans (as a kid she meticulously removed them from her chili) you can switch out for pinto beans.

I’m not always great with getting the ingredients all ready beforehand, but it is a must with this recipe.  Chop the onion, press the garlic, grate the ginger, and measure out all the spices into a small bowl before you heat the oil.  It makes this recipe so much easier to put together. And easy is what we are after, after all.

½ cup canola oil
1 large onion, chopped small
2 Tbsp. chopped or pressed garlic
3 Tbsp. grated ginger
1 15 oz. can diced tomatoes
1½ Tbsp. chili powder
1 tsp. turmeric
1 Tbsp. ground cumin
1 Tbsp. ground coriander
1½ tsp. salt
¼ tsp. ground cayenne pepper
½ cup plain yogurt
4 cups water
3 14-oz. cans kidney beans, drained and rinsed
5-6 cups cooked brown basmati rice (next recipe)

Heat oil in a medium pot on medium-high for about 30 seconds. Add onion and sauté until slightly dark brown, about 8-10 minutes. Add garlic and sauté for 2 minutes, then stir in ginger and tomatoes. Add chili powder, turmeric, cumin, coriander, salt and cayenne and sauté this tomato sauce for 5-8 minutes, or “until the oil glistens on top,” as my friends Meeru and Vij say.

Put the yogurt in a small bowl. Spoon about 3 tablespoons of the hot sauce into the yogurt.  Stir well, then pour the yogurt mixture into the pot of sauce.  Cook for about 2 minutes.

Add water, stir and bring to a boil on high heat.  Add kidney beans, stir and bring to a boil again.  Reduce the heat to medium and cook for 5 minutes, or more, if you want softer beans.  The recipe can be made ahead and reheated after you are done driving your daughter to theater rehearsal.

Serve over Brown Basmati Rice (next recipe) with a spinach salad or another veg on the side.

Brown Basmati Rice
Adapted from Vij’s at Home: Relax, Honey by Meeru Dhalwala & Vikram Vij

The kids used to complain about brown rice, but this stuff they love.  The other day when I was cooking this rice, my daughter came home.  The first words out of her mouth were, “Omigod, home smells awesome!” Really, what is better than that? You can make it without the cumin seeds and/or onion, but your daughter won’t have the same reaction.

This makes 6-8 cups rice, we always have leftovers, so we can have it with the leftover beans for lunch.  When making Rajma Chawal, start the rice first because it takes longer to cook and can sit covered on the stove for awhile.

2 cups brown basmati rice
2 Tbsp. butter or canola oil
1½ tsp. cumin seeds
1 large onion, finely chopped
4 cups water
1 tsp. salt

Place rice in a medium bowl, rinse under cold water and drain.  Repeat the rinsing/draining, then set rice aside.

In a large pot over medium heat, melt butter or heat oil for a minute.  Add cumin seeds and sizzle for 15 seconds.  Add onion and sauté until browned, about 10 minutes.

Add water and salt to the pot, then add rice and stir.  Increase heat to high and bring to a boil.  Immediately reduce the heat to a simmer, cover and cook for 45 minutes.  When the time is up, turn off the heat and keep the lid on.  The rice will steam and stay while you finish the beans and/or pick your kid up from basketball practice.

Then when you are done cooking and schlepping kids and eating – go take it easy.