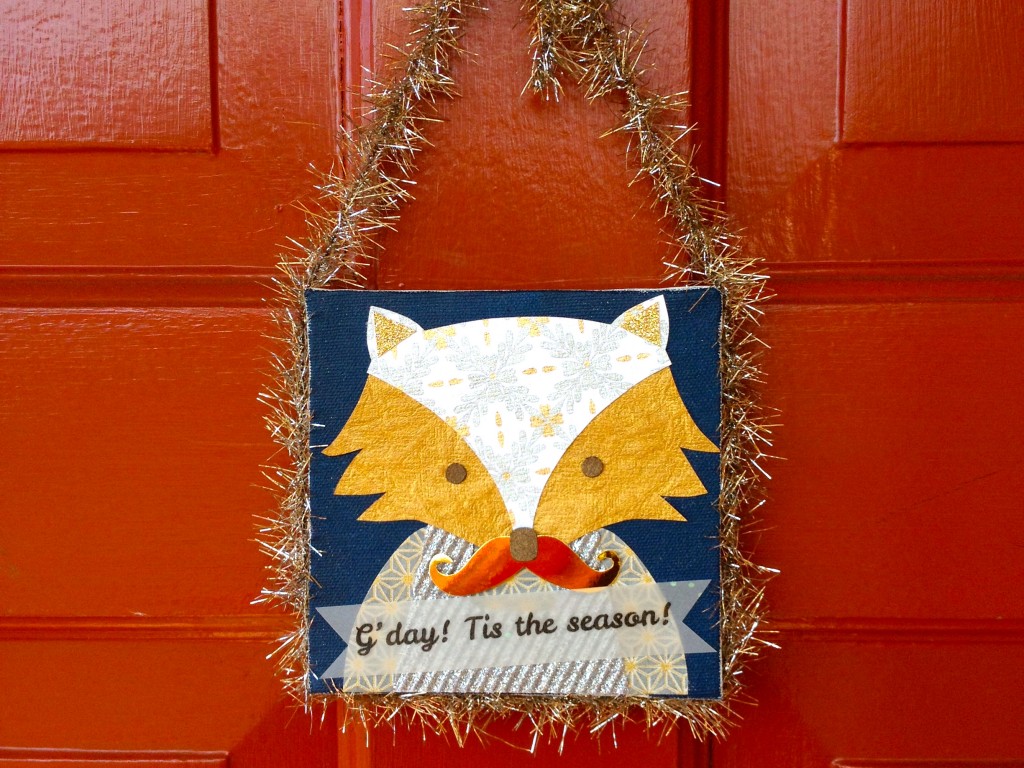
I love this little guy – a door hanger that a crafty friend made for me. Mostly I love this foxy door hanger because: (1) he is randomly Australian; and (2) although he arrived in December, he doesn’t look Christmasy. So really, he could be proclaiming the arrival of any season – and I believe that is just what he is doing. These days, he is busy announcing citrus season. Continue reading
Category Archives: Recipes
Domestic Bliss
My traveling co-blogger sister has been carrying the weight of this blog for a while now, as she cruises around Southeast Asia. Meanwhile I have been slacking at home and trying to get back to normal (what’s that?) after the holiday break in routine. Now I feel that not only must I carry my share of the load and post something – but I must post something super domestic in order to balance out all the travel. A little yin to her yang, if you will. So here’s what’s going on at my little house today: It’s a beautiful, sunny, warm day. I did some laundry and folded the clothes outside on the picnic table.
 And I made my own laundry detergent this morning! It was easy and smells really good (I used Dr. Bronner’s scented soap – one rose and one orange – and added essential oils). The laundry looks clean, right? I used this basic recipe. I was surprised at how much cheaper it is to make my own at home.
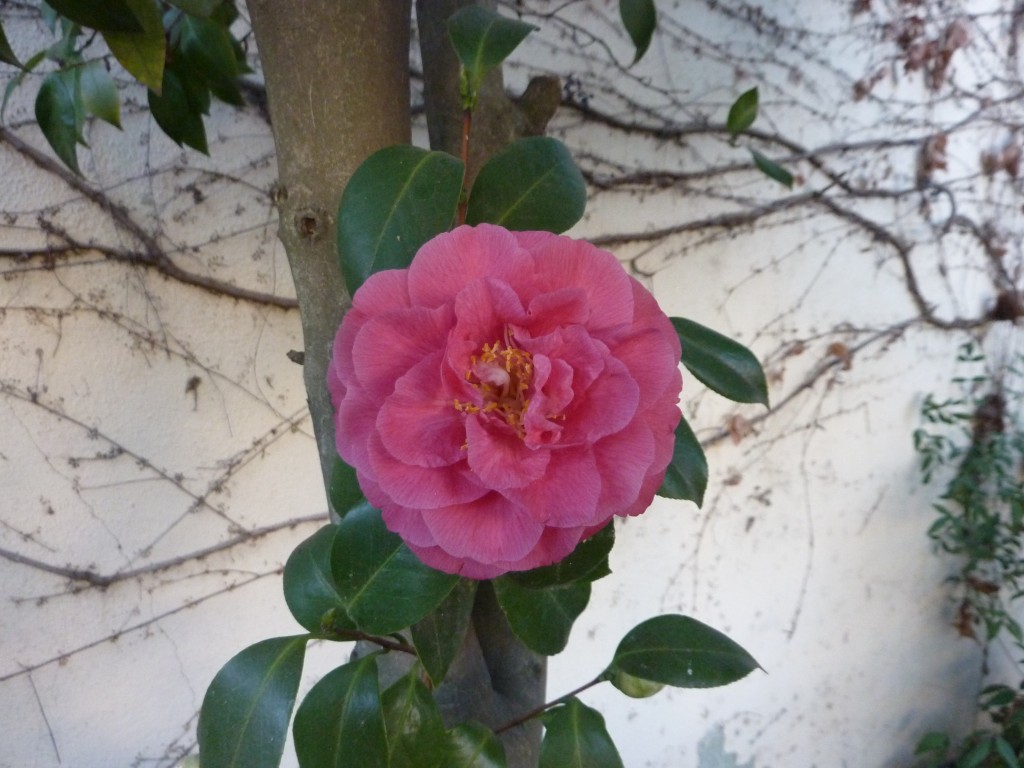
My chores completed, I meandered about in the garden. I loved this little camellia flower hanging out all by itself in the shade. It’s the first blossom to bloom on this plant.
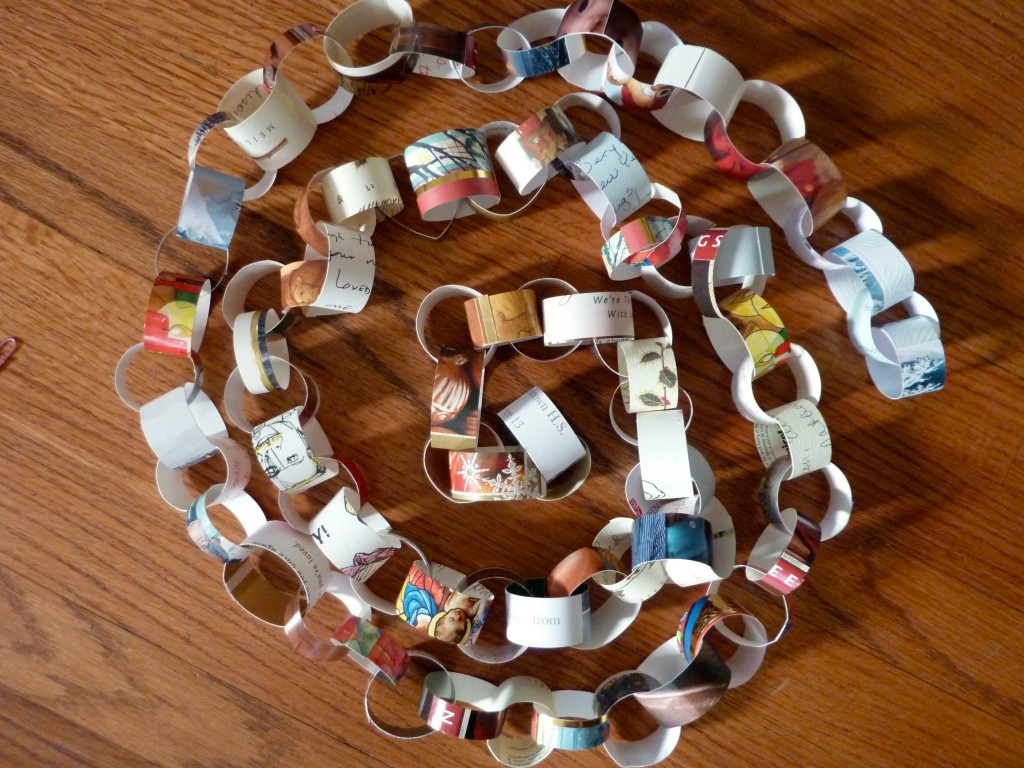
 Back inside, I messed around with my paper chain garland project. This is a craft project that I have been meaning to get to for, like, ever. And now it is almost completed. Here’s a tiny preview:
 I also checked in with my cats. They are my stay-at-home version of the wax monks. But a little less creepy.
 And today I am making chicken stock. When I think about the most homey, cozy, productive, domestic things I can do, making chicken stock might be the golden star at the top of the list. Check out these lovely globules . . .
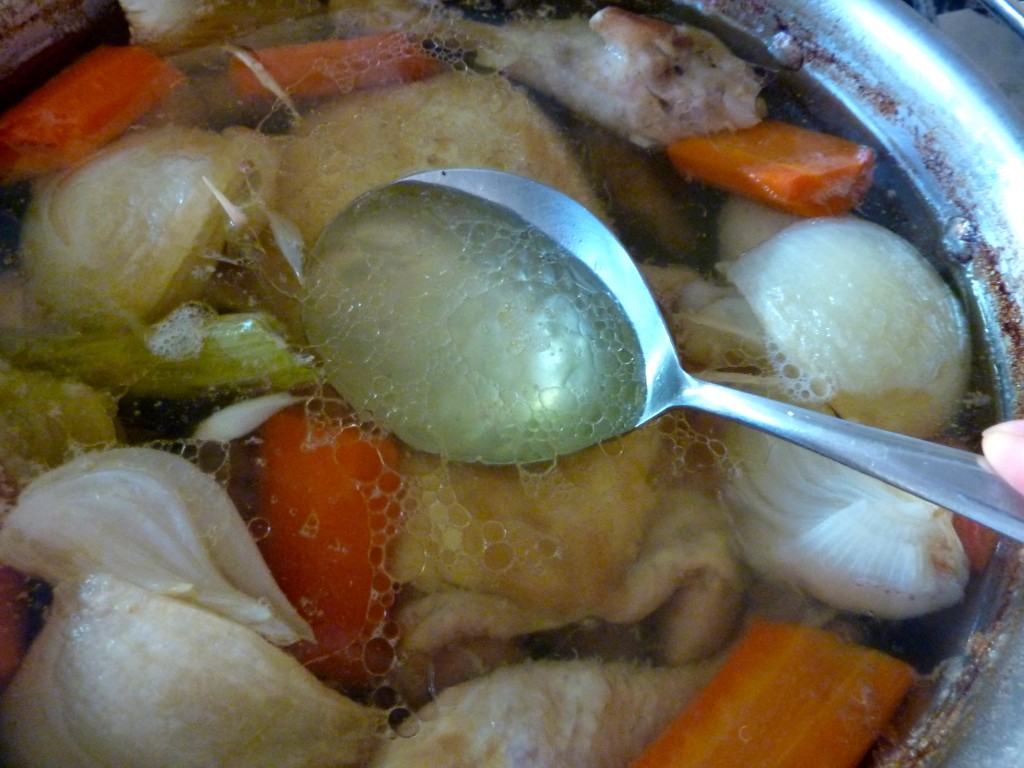 I suppose I feel so strongly about chicken stock because it is one of the building blocks of my cooking. Not only do I use it as an ingredient in many dishes, but often it is the main ingredient, to which I just add whatever we have on hand, especially leftovers, to make a quick, delicious, satisfying and healthy supper. That’s all anybody needs, isn’t it? We are fans of soup around here.
I have a basic formula, which I tweak as I feel like it, for my supper soup. I learned this method from How to Cook Without a Book, by Pam Anderson, certainly one of my most favorite and recommended books, especially for beginners.
For each quart of chicken stock, I saute a diced onion in a pot and add:
1 pound cut-up vegetables, like carrots (leftover roasted ones are yummy here), leeks, celery, kale or collards (thinly sliced), zucchini, or frozen peas. Got half a head of romaine lettuce? Chop it up and throw it in.
1 pound meat (like boneless, skinless chicken (precooked or not), precooked sausages (like kielbasa or pre-cooked chicken Italian).
Some starch, like a pound of diced potatoes or pre-cooked pasta or rice or a can or two of cannellini beans. Pasta or rice gets added at the end. Or you could add a sprinkling of corn meal, like in the polentina alla toscana recipe from One Good Dish, by David Tanis. (I expect that you will be hearing more about this book from me in future posts. I love it.)
And sometimes, a 14 oz. can of diced tomatoes. And herbs and salt and pepper of course. Have some rind from a hunk of Parmesan cheese? Throw it in! So yummy.
We have had some very tasty combinations like Italian sausage, collards and tomato or chicken with spinach, rice and lemon (oooh I’m hungry now), or the basic chicken, carrots, celery and peas with pasta. Sometimes I skip the meat and just do beans and vegetables. It’s easy to combine all sorts of things in the soup. Often it ends up being more of a stew than a soup, I load so much stuff in there. But it tastes delicious regardless.
No chicken soup tonight, though. It’s too warm! In January! Instead I will strain this stock and pop it in the fridge to cool. Tonight I’m going out on the town for a quick bite with the boy before his fencing lesson. Domesticity party!!
Tomorrow I will de-fat the stock (mostly) and freeze it for a rainy day (here’s hoping for one of those soon – it’s so dry here.) Then who knows what else I’ll get into . . .
That’s the report from NerdHaven West – staying home in L.A. and doing fine. xo
French Onion Soup or: How I Learned to Stop Whining and Love my Crock Pot
When we travel, we often choose a restaurant based on whether it has french onion soup on the menu. And if the soup is good, we may have an extra round of it. That’s right – two bowls of soup. We live large, people.
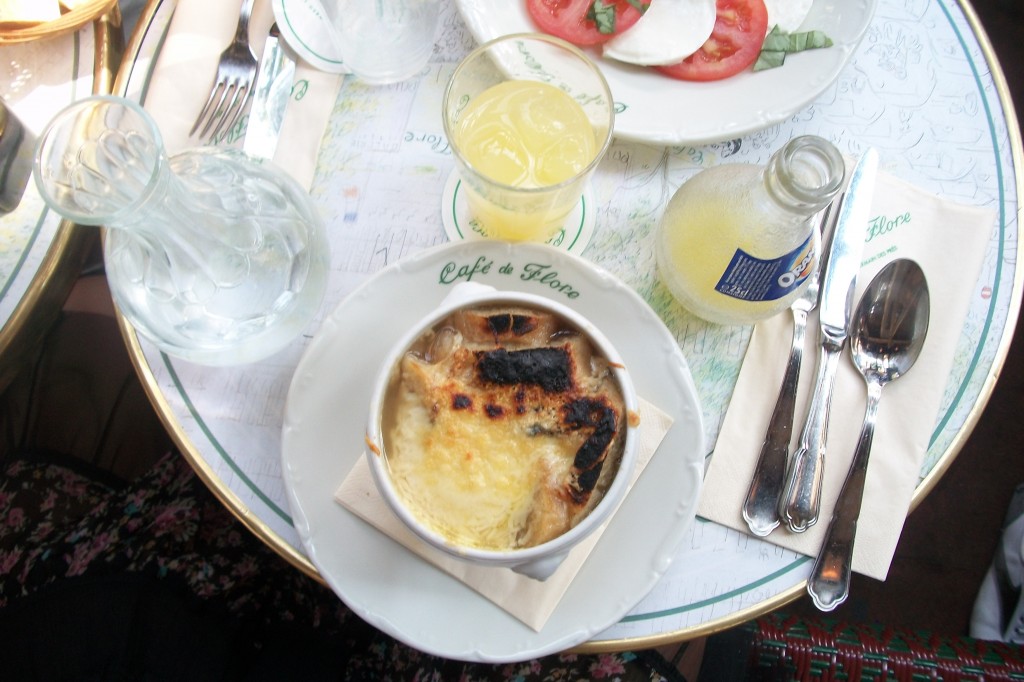
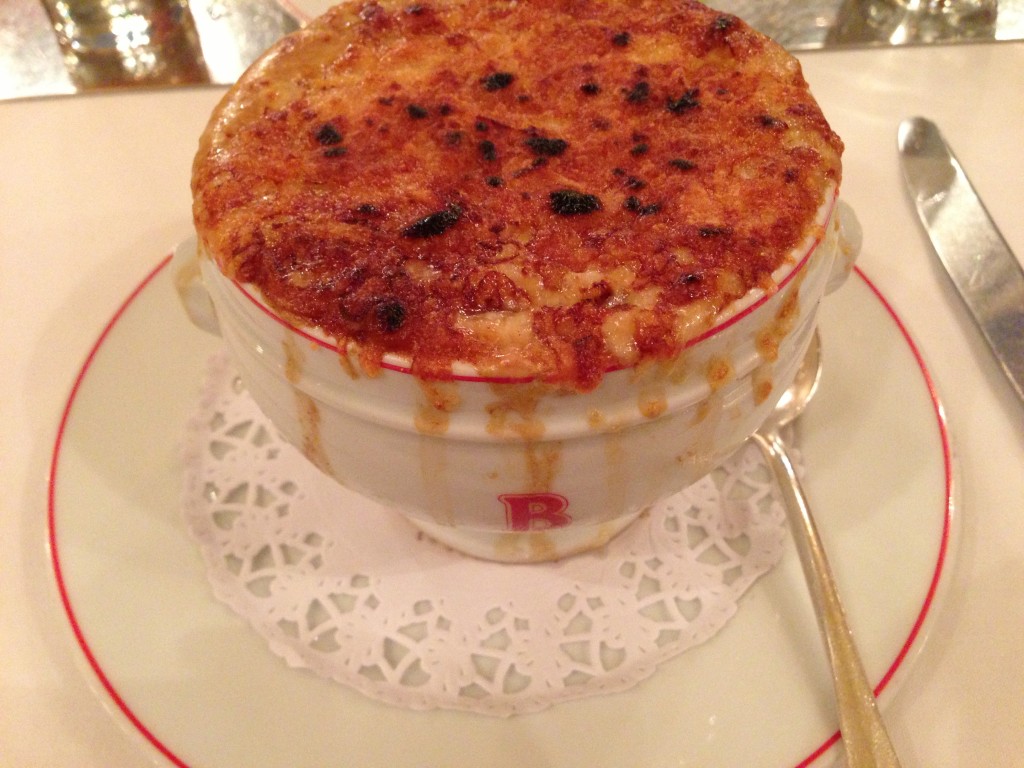
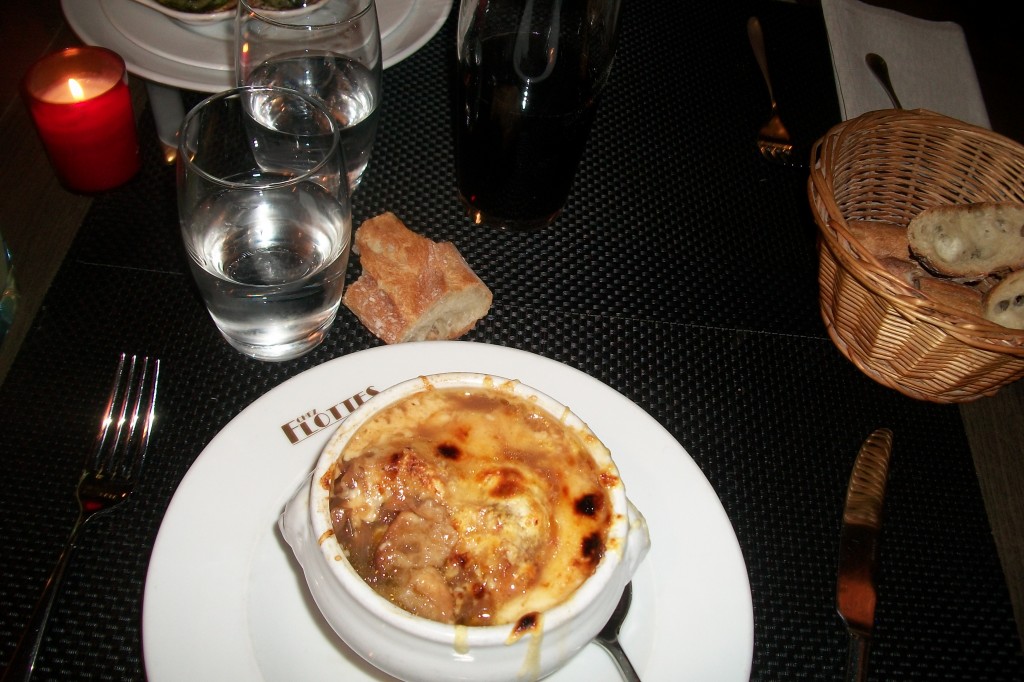
We have had some excellent french onion soups (some photos of which are included here for your enjoyment). But throughout all our sampling, my family insists that my french onion soup is the best. Sweet, right? They sure know how to get me to make more soup. Now that the weather has turned chilly (I am wearing a sweatshirt and a scarf today), my thoughts turn to soup. And so I am going to pass along my recipe for the very best french onion soup. It has been vigorously tested by me and mine.
Step one: get out your crock-pot. If you don’t have one, you really should get one. I know. Snap to it. Get moving. Jump on it. Whatever. They are cheap, energy efficient and above all, sooo helpful. Stop whining and get one.
While we are on the subject of whining, there was a time when, even though I had a crock pot, I did not love it. There’s only so much stew you can have, right? And then, many recipes, in the interest of better flavor and texture, call for browning the meat ahead of time in another pot and then adding it to the crock pot. I hate those recipes. If I am already browning the meat, I am just going to go ahead and braise it in that pot in the oven or on the stove – and only have one dish to wash, thank you very much. Taking the time to brown the meat (all four sides!) and getting an extra pot dirty on top of it cancelled out the benefit of crock pot cooking for me. I’m not saying this is rational, I’m just speaking my truth.
Through french onion soup, I began to see the crock pot not just as a way of making stews with boneless, skinless chicken thighs (which don’t need advance browning); but as a hands-free way of making staple ingredients that can be used in many different ways. Nothing is better than cooking while you sleep, which can totally happen when your food cooks for 12 hours. And what’s more is that I love the staple ingredients that can be made with a crock pot, like caramelized onions, chicken stock, oatmeal, apple butter, herb-infused oils. All of these are helpful ingredients that can be used in tons of recipes. In a nutshell, caramelized onions in the crock pot changed my life.
The two main reasons why onions cooked in the crock pot are so amazing are: (1) you will never burn the onions – never; and (2) you get this amazing onion broth, which is an ingredient in itself, along with the brown onions. I use both the onion broth and the onions in my french onion soup. There’s also a secret third reason: a by-product of the recipe is this amazing onion-infused butter, which is very tasty to use to saute zucchini or toss with pasta.
I can’t take credit for inventing this method of cooking onions. I got the idea from Slow Cooker Cooking, by Lora Brody. I love this book. I don’t cook any of her recipes that call for browning ingredients before putting them in the crock pot, mind you, but I love this book, for its very useful and easy recipes, especially the pantry section and the soup sections. And most especially her recipe for caramelized onions.
But time after time, as I was happily crock-potting onions, it nagged at me that the recipe was called “Caramelized Onions.” Experience taught me that caramelization involved high heat, sugar, and a dry cooking method. But none of those conditions are involved in crock pot onions. And really, these onions are way too juicy and thick to be caramelized, except they do change to a deep brown color and have a yummy rich, sweet flavor. What gives?
Well, I’m going to nerd-out for a moment here. Contrary to what the awesome Lora Brody calls them, it turns out my suspicions were valid (listen to your gut, people!) these are not caramelized onions. They are rather “Maillardized” onions. Maillardized comes from the term “Maillard reactions,” which according to Harold McGee in his magnificent book, On Food and Cooking, were named for the scientist who discovered them, Louis Camille Maillard.
Both caramelization and Maillard reactions (or, as I say, “Maillardization”), writes Mr. McGee, are two different “browning reactions” (complex chemical reactions) that happen when foods are subjected to sufficient heat. These reactions produce the yummy flavors we associate with cooked food. Caramelization is the chemical decomposition of sugar at high heat (330F/165C) into different types of molecules, which have delicious flavors and fragrances and add much yumminess to candies and other sweets. On the other hand, the Maillard chemical reactions happen when one applies heat to foods that are not primarily sugar (like onions and butter in the crock pot onions recipe). It is a reaction between a carbohydrate and an amino acid. Just like with caramelization, the reaction causes a brown color and rich, intense flavor (think bread crusts, chocolate, roasted coffee beans, dark beers, condensed milk). But, Maillardization happens at much lower temperatures (about 220F/115C) and can happen with moist cooking methods. And, best of all, Maillard flavors are even more complex than caramelized flavors, making crock pot onions all the more delicious to use in french onion soup. So, thanks Mr. Maillard! Let’s go make soup.
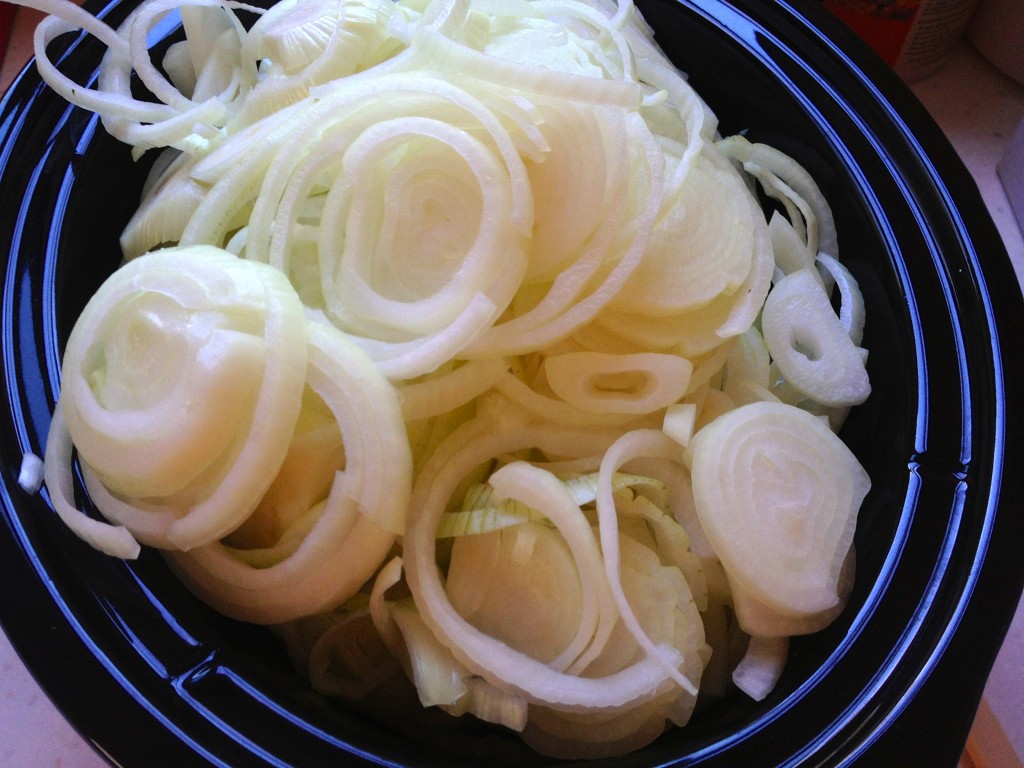 First is the recipe for the crock-pot onions, which have many uses besides french onion soup. Then the grand finale, the french onion soup recipe.
Maillardized Onions
Adapted from Slow Cooker Cooking, by Lora Brody
3 pounds yellow onions, peeled and cut into 1/4 inch-thick slices
(if you have a bigger slow cooker, go ahead and double the onions.)
1 stick unsalted butter (if you’re doubling onions, do not double butter)
1. Put the onions and butter in the insert of the slow cooker. Cover and cook on low for 12-14 hours, until the onions are deep brown, mahogany color and very soft. Your times may be different because slow cookers are different, but don’t worry because you cannot overcook these onions.
2. Drain the onions, pouring the juices into a bowl or large measuring cup. Then put the browned onions in a different container. Refrigerate both containers. When cool, strain the congealed butter from the surface of the cooled juices, and put in yet another container.
3. You now have three terrific ingredients: browned onions, onion broth and onion butter. Use them, or store them in your fridge or freezer. Enjoy.
French Onion Soup
also adapted from Slow Cooker Cooking, by Lora Brody
3-4 cups browned onions (see above)
onion broth (see above), plus enough chicken or veggie broth or stock to make 6 cups
6 slices bread, thickly sliced and toasted
1-2 cups grated Gruyere cheese
salt and pepper to taste
1. Preheat the broiler on high. Place ovenproof bowls on a heavy-duty rimmed baking sheet.
2. Combine the onions, cooking liquid and broth in a large pot (not a crock pot, we are moving on now). Set it over medium-high heat and bring to a simmer. Season with salt and pepper.
3. Ladle the hot soup into the prepared bowls, top each one with a slice of toast, and sprinkle generously with the cheese. Set the baking sheet under the broiler and broil until the cheese melts and begins to bubble. Serve immediately.
4. Take a picture. French onion soup is very photogenic.
Better Late than Never
Better Late than Never
Am I right? Oh man – I hope so. I would like this blogging thing to work out. I remain hopeful that it will. And so, I push on again.
In the many months that have come and gone since I last posted here, I’ve been kinda busy. Among other things happening around Nerdhaven West, I completed a course in food preservation – the Master Food Preserver Program offered by the UC Cooperative Extension. I am now a Master Food Preserver (can’t you just hear the trumpets?)
Food preservation – like blogging, apparently – requires an optimistic spirit. Food preservers regularly face the existential question: “Will this be good to eat in a year?” (i.e., toxic? tasty?) In a preservation project, one commits the time, energy and resources in the present and hopes for the payoff in the future. Certain predictors maybe increase the likelihood that it will be worth it – but one can never truly be certain . . . One predictor of success is whether the food was preserved following a tried and true recipe. Hope is nice, but it can’t prevent a mold from forming or make a product taste good.
But with this project, I’m not really following the rules. So hope is all I have to go on. As a cook, this style makes me nervous. It violates my Virgo-lawyer sense of order. Rules are good. I love rules. This particular project, what I’m writing about today, it’s more my sister’s style – she has been known to go off road in her cooking. I mean – hey, it’s just food!
And in this case it’s not even food. It’s booze: nocino. A liqueur made from green walnuts and aromatics soaked in vodka. I learned about nocino in my Master Food Preserver class, where it was spoken of in somewhat hushed tones . . . the flavor is elusive . . . think cinnamon toast and coffee and maybe some Coca-Cola in there . . . but soooo good. The idea stayed with me because it is such a delicious way to use green walnuts, a fairly common Southern California backyard nuisance – um, I mean fruit.
While the taste of nocino lingered in my mind, the recipe did not. So when a friend called me up on August 4 and said, “hey I have walnuts on my tree and they are starting to fall, do you want any?” I took a quick look at this David Lebovitz blog post (to see how many nuts I needed to harvest) and ran right over with my picker and my trusty assistant:
 Then I promptly came home and chopped those babies up. I had a feeling the walnuts were a bit past their prime, because when I chopped them, they didn’t look exactly like the David Lebovitz photo I saw before I ran out to go pick. His looked all young and fresh and perky and lovely. Mine looked like this:
Those are some old, hard nuts, am I right? Turns out, nocino is made from walnuts picked on June 24th – the feast day of St. John the Baptist. That is when the nuts are soft enough to cut with a knife. But I was not hampered by the knowledge of this rule at the time. I picked my walnuts on August 5 and chopped them all up and put them in the vodka on August 6. Later I learned, from this helpful LA Weekly blog article, that while the green walnuts are traditionally harvested on June 24, really they are still soft enough to be picked for nocino into July. Later than that, the walnuts have begun to form their hard shells, making them difficult to cut open. And then, “By August, it’s a done deal and you have to wait for next year.”
Wait, what? Done deal? I made it already! What do you mean, done deal? Like they cannot be cut? I cut mine. Okay maybe some were more like smashed; and some I could only cut into halves, not quarters as the recipe instructed. But still, the interiors are plenty exposed to the alcohol. Or does the author mean done deal as in, don’t even try it because the old-ass walnuts are too mature to be tasty and what you end up with after months of maceration and resting is a black and boozy substance too bitter to imbibe. Who knows? But I hoped. And then I put my container of walnuts and vodka in a cool dark place and moved on.
Until today, when – ever hopeful – I went to put another food preservation project (fermentation) into my cool dark place and ran into my old friend the nocino container. Doh. I realized I was supposed to strain it like two weeks ago. So I strained it out. Here’s a photo of the solids, they were beautifully shiny and black and looked very Halloweeny:
Of course I also tasted it. But of course! And it seemed . . . fine. I’m refraining from judgment. I compared it with the sample I received from the MFP course, and mine was stronger, harsher. But hey, the MFP sample has been sitting around for a long time, maybe a year or more. It’s a wise old brew. My nocino is in its infancy. A wee babe. The Baby Huey of liqueurs – and made with old-ass nuts past their prime.
Both of the recipes I consulted said that the nocino should sit for a couple months to mellow – so mine is on track for the Holidays. Maybe this might all work out. Maybe I’ll have a homemade gift to give this year. Maybe I’ll be ringing in the New Year with some nocino. Here’s hoping!
My August 2012 Nocino
Adapted from the recipes of David Lebovitz and Felicia Freisema
Some notes: (1) don’t wear clothes you care about when you are making this recipe. These walnuts are crazy-staining. (2) Wear gloves – ones that nothing can soak through – and still be prepared to have your fingers stained afterwards. I wore gloves and my fingers were still stained a week later. (3) Here is a tip from David Lebovitz which saved my life: use a cleaver, tap it into the skin of the green walnut, then lift the cleaver and whack it down on the cutting board to split it (I used the same technique with a butcher knife, and it worked).
60 walnuts, washed, dried and chopped/smashed into quarters or halves
5 cups sugar
2 liters vodka
4 sticks cinnamon
20 whole cloves
zest of two lemons, peeled off in long pieces with a vegetable peeler one vanilla bean, sliced lengthwise
1. Place the walnuts into a large container with a tight-fitting lid and pour the vodka over and be very psyched that you actually did this thing. Now go clean up the mess from the chopping/smashing.
2. Wait two days and then realize you forgot to add the other tasty ingredients. Add all the ingredients except the sugar. Stir well.
3. Wait two more days and then realize you forgot the sugar. Geez. Add the sugar and stir well. Put nocino in a cool, dark place.
4. Wait two months. Find the nocino. Strain it through a cheesecloth to remove the sediment (especially if you used the smashing technique). Then decant into clean and sterilized bottles. I understand that nocino mellows as it sits, so don’t drink this right away if you think it’s too strong or bitter. Decant it and then let it rest a couple months before using it.
5. Put June 24 into your calendar for harvesting green walnuts next year.

